Share
Luminosity Masks – Introduction
We all have seen pictures of marvelous sunrises, breathtaking views of cities with great sunset on the sky and shots of milky way leading up to the moon. But even if it's a subtle image of misty forest in soft morning glow, rare photograph stays with no post processing in Adobe Photoshop.
There are many different plugins and instruments, but of the most often used tools nowadays are Luminosity Masks. In portrait, street and wedding photography they are used most often for color correction and toning, but in landscapes there are many more ways they can be applied:
- exposure blending
- working with details in bright lights and deep shadows
- color correction and custom toning
- controlled dodging and burning
- selective effects
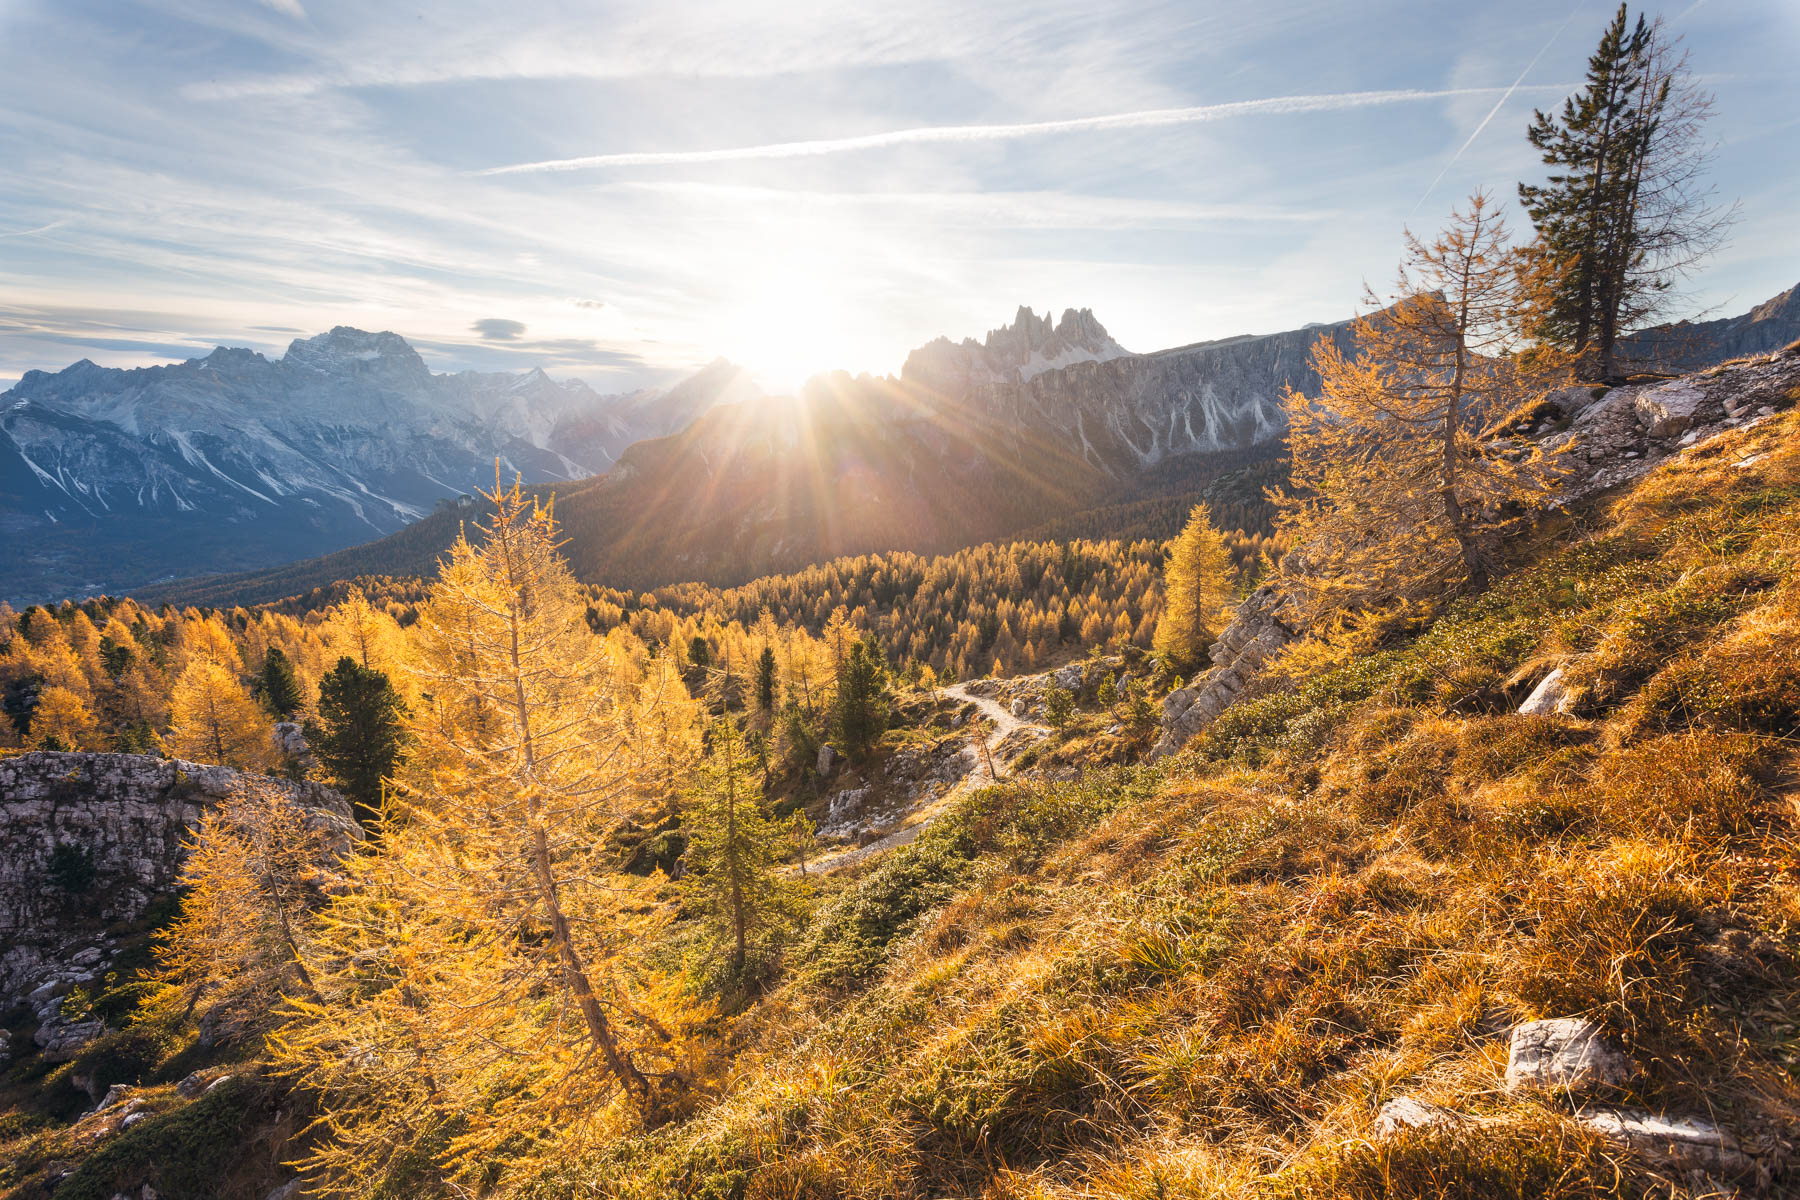
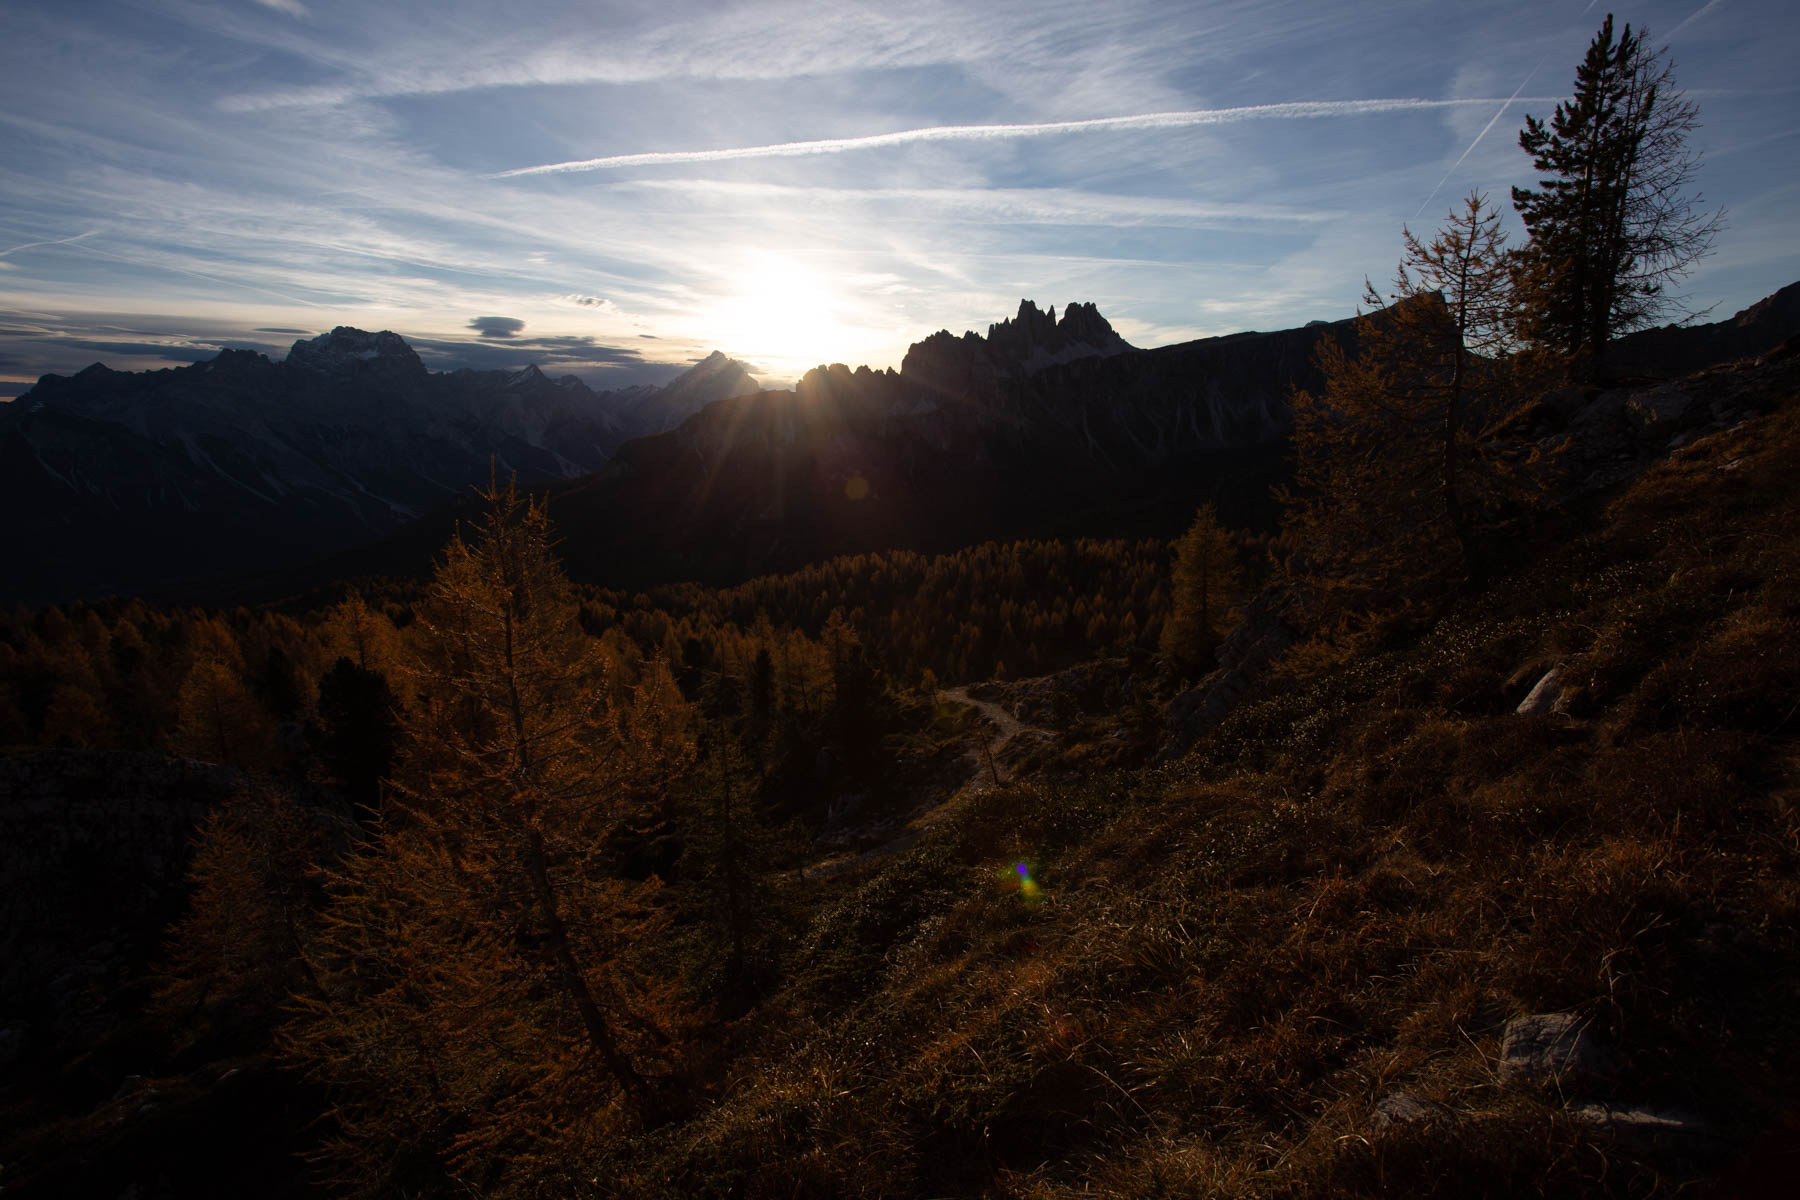
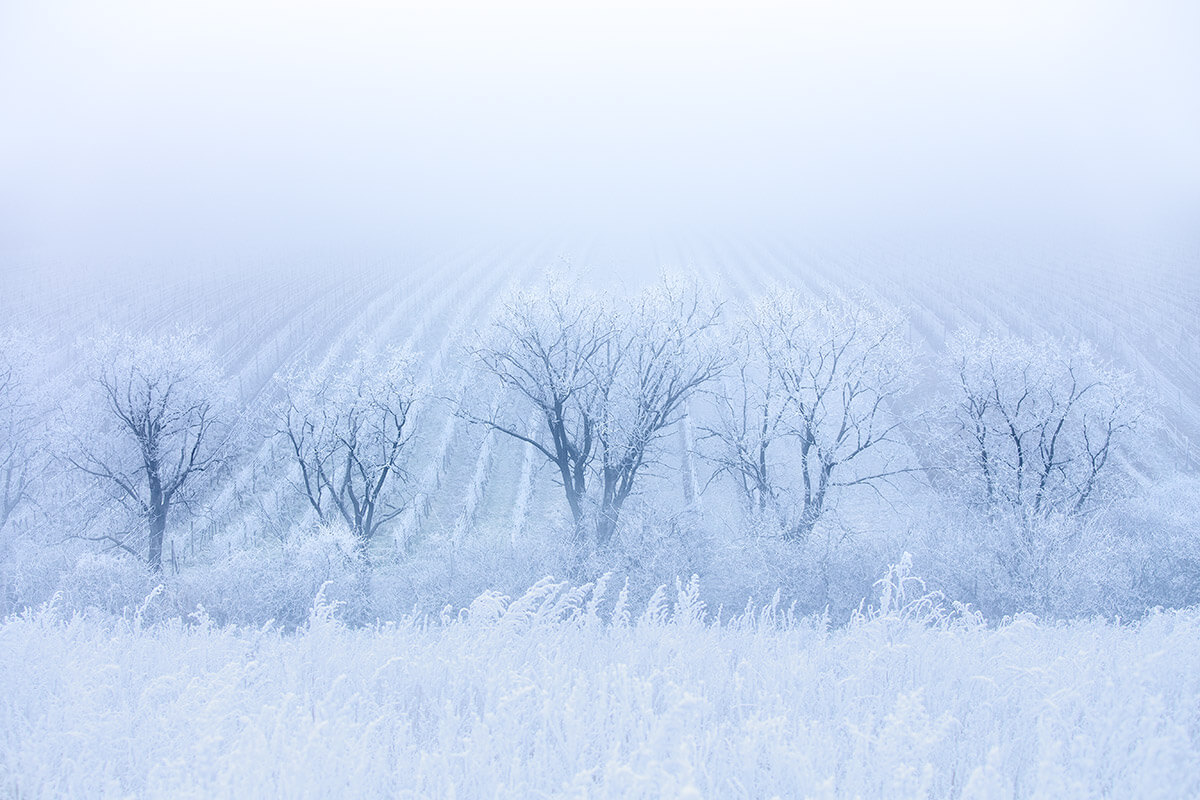
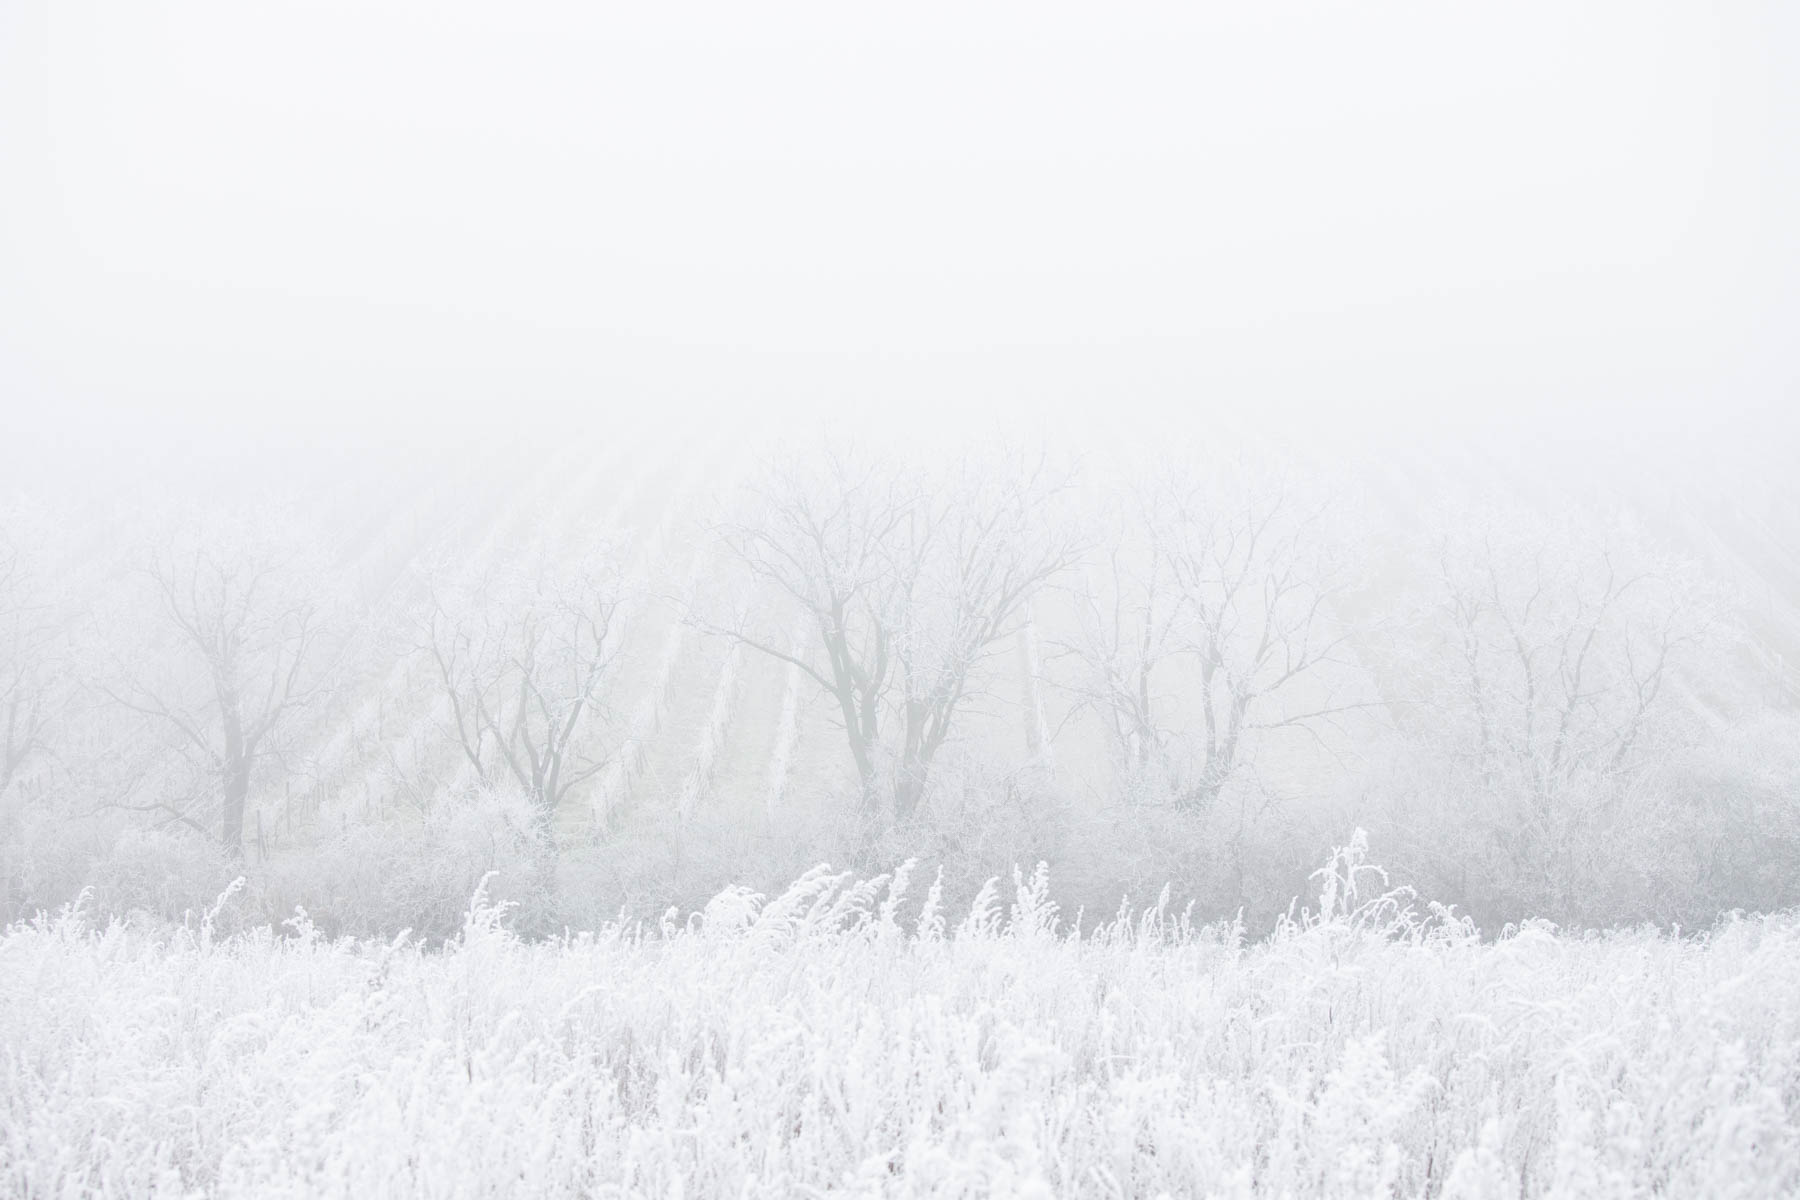
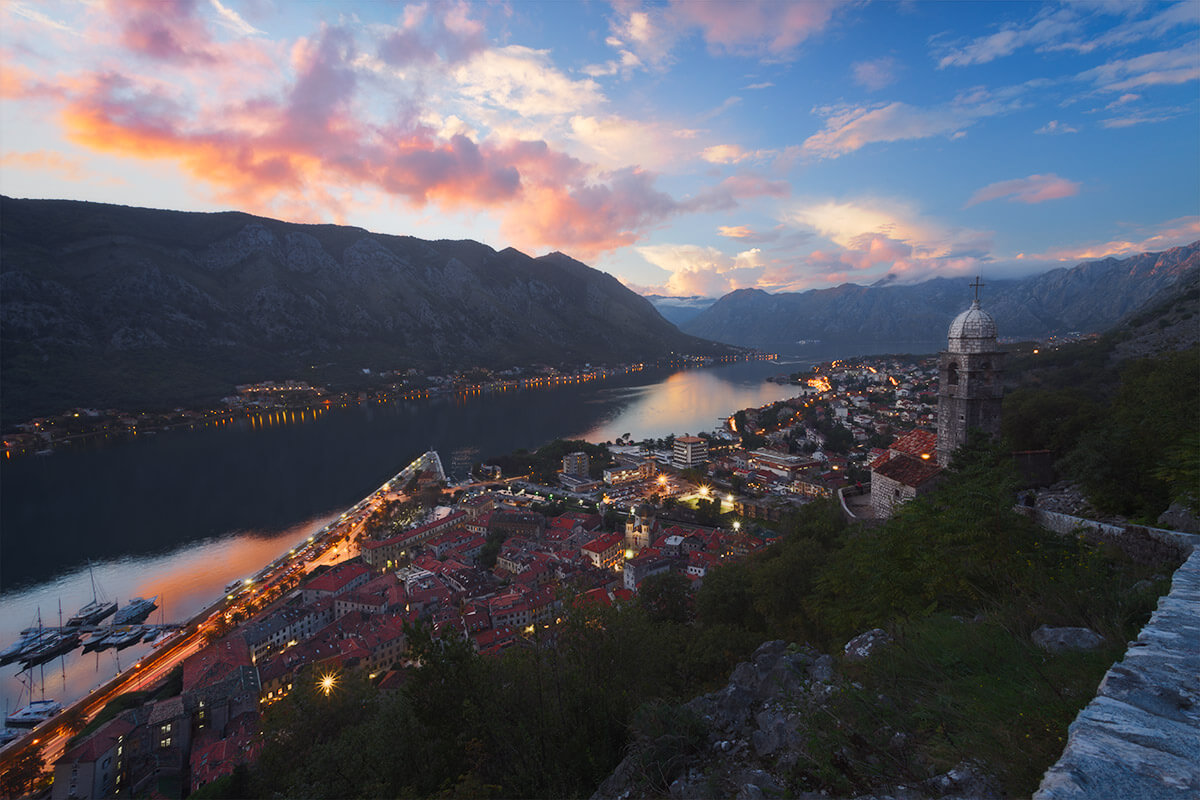
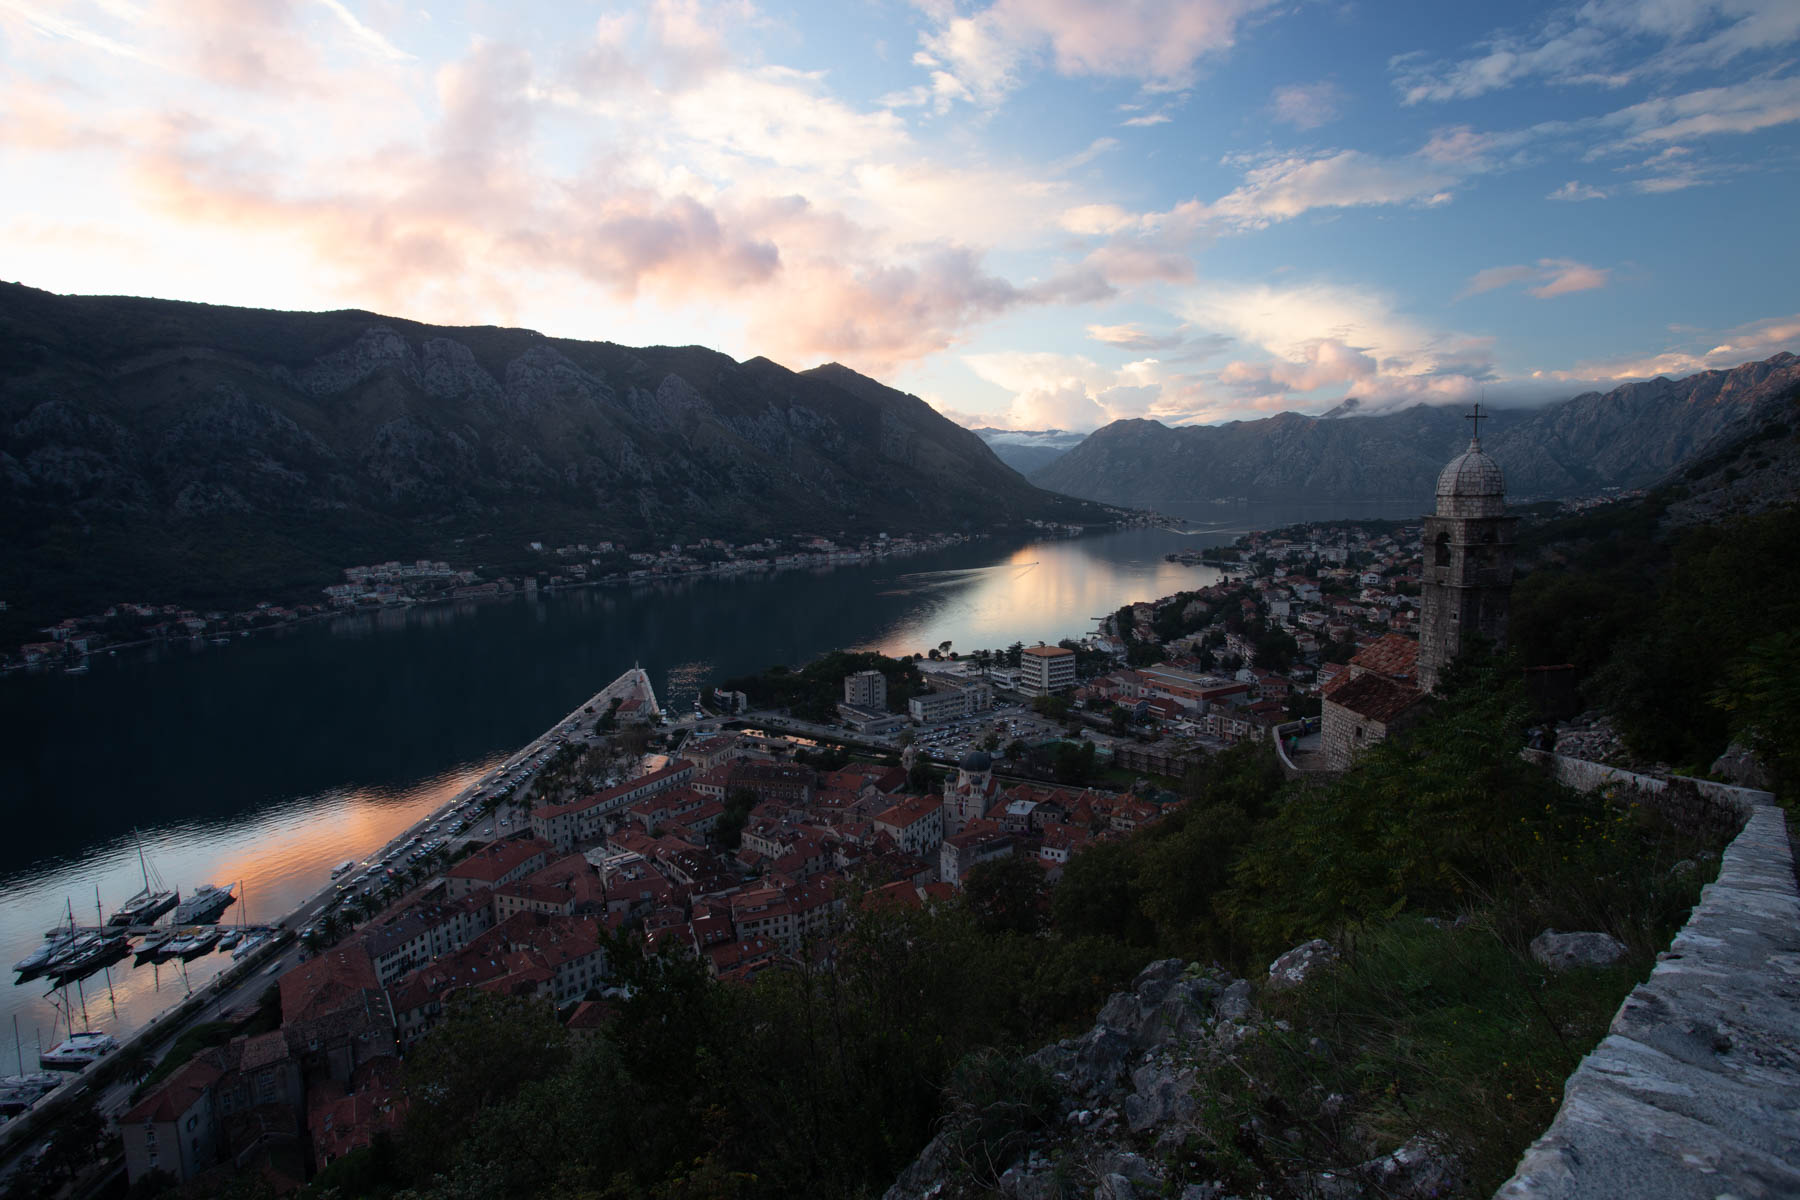
Here are just a few examples of images processed with luminosity masks:
Adobe Photoshop is famous for it's ability to work with layers and masks. Regular masks became popular mostly because you can draw them with soft brush or a gradient. Even though it's a very powerful tool, people quickly understood that contrasty parts of the image are very difficult to draw around with brushes. Examples could be tree branches, hair strands on the face or dark stones surrounded by water reflecting bright sky.
With that came the idea to somehow build masks based on the brightness, as if selecting bright or dark parts of the image separately. Created by hand with cumbersome and slow method, still, luminosity masks became very popular, and there came to be luminosity masking panels. They have not only significantly speed up the workflow, but also increased the quality of created masks.
ARCPanel is exactly this kind of panel. Very easy to use, it stays fast and keeps the quality of the masks high.
Clear the state and remove temporary panel channels.
ClearEnables Quick Apply mode when preview is disabled and clicking on buttons instantly replaces mask in the currently selected layer
Creates a new group with mask filled white color
Creates a new group with mask filled black color
Generates endless color grading combinations of colors that look good together.
SOURCE
Creates a Luminosity mask and uses it as a source for future mask calculations. Will be used until applied, replaced with another source or cleared.
LuminosityCreates a Luminosity mask using luminosity of the Red channel and uses it as a source for future mask calculations. Will be used until applied, replaced with another source or cleared.
RCreates a Luminosity mask using luminosity of the Green channel and uses it as a source for future mask calculations. Will be used until applied, replaced with another source or cleared.
GCreates a Luminosity mask using luminosity of the Blue channel and uses it as a source for future mask calculations. Will be used until applied, replaced with another source or cleared.
BCreates a Saturation mask using most saturated pixels of an image and uses it as a source for future mask calculations. Will be used until applied, replaced with another source or cleared.
SaturationAllows to build a mask using color range sliders. Uses Luminosity by default, but if Saturation is selected will select saturated color ranges. Click to start.
MASKS & ZONES
Allows to select any luminosity range using sliders. Builds mask on True Luminosity, ignoring colors. May not match luminosity exactly. Click to start.
Builds Darks mask
DarksBuilds Lights mask
LightsBuilds Darks-1 mask
Darks 1Builds Mids-1 mask
Mids 1Builds Lights-1 mask
Lights 1Builds Darks-2 mask
Darks 2Builds Mids-2 mask
Mids 2Builds Lights-2 mask
Lights 2Builds Darks-3 mask
Darks 3Builds Mids-3 mask
Mids 3Builds Lights-3 mask
Lights 3Builds Darks-4 mask
D 4Builds Mids-4 mask
Mids 4Builds Lights-4 mask
L 4Builds Darks-5 mask
DBuilds Mids-5 mask
Mids 5Builds Lights-5 mask
L0
1
2
3
4
5
6
7
8
9
10
REFINE & APPLY
Let's you build a new mask and add it to the current mask. Use = to calculate result.
Let's you build a new mask and subtract it from the current mask. Use = to calculate result.
Let's you build a new mask and multiply it to the current mask. Use = to calculate result.
Builds result of calculation.
Refine with
Allows to refine the mask using Levels adjustment
LevelsAllows to refine the mask using Curves adjustment
CurvesAllows to refine the mask by inverting it
Apply to
Creates new Levels adjustment layer as sets built mask on it
Creates new Curves adjustment layer as sets built mask on it
Creates a new selection using built mask
Applies built mask to the currently selected layer
To LayerPaint current mask onto layer mask. Sets foreground color to white, selects brush. If layer has no mask, sets black mask, otherise paints on existing mask. Hides marching ants.
- Creates new Curves adjustment layer as sets built mask on itCurves
- Creates new Levels adjustment layer as sets built mask on itLevels
- Creates new Brightness/Contrast adjustment layer as sets built mask on itBrightness/Contrast
- Creates new Hue/Saturation adjustment layer as sets built mask on itHue/Saturation
- Creates new Exposure adjustment layer as sets built mask on itExposure
- Creates new Solid color adjustment layer as sets built mask on itSolid color
- Creates new Black & White adjustment layer as sets built mask on itBlack & White
- Creates new Photo filter adjustment layer as sets built mask on itPhoto filter
- Creates new Vibrance adjustment layer as sets built mask on itVibrance
- Creates new Color balance adjustment layer as sets built mask on itColor balance
- Creates new Selective color adjustment layer as sets built mask on itSelective color
- Creates new Channel mixer adjustment layer as sets built mask on itChannel mixer
TOOLS
Creates a special curve that makes it much easier to spot dust, scratches or issues with clone stamp on the image.
Solar CurveFREQUENCY SEPARATION
Build
ORTON EFFECT
Generates Orton Effect in a Heavy configuration that darkens image a little.
Orton HeavyGenerates Orton Effect in a Soft dreamy configuration that lightens image a little.
Orton SoftDODGE & BURN
Generates Dodge & Burn using grey layers.
Grey LayersGenerates Dodge & Burn using curves.
Via CurvesGenerates automatic Dodging & Burning allowing select ranges via Blend If
AutomaticFit in width & height in px
Width in px to fit image into
Height in px to fit image into
Adjusts jpg image quality until it fits the limit. Will use maximum quality if empty.
Something to put in front of the name for every saved file.
Name to use for every saved file. Will use original filename if left empty.
Something to put in the end of the name for every saved file.
Sharpen for web
Sharpen for webTo show how easy it is to use the panel I suggest even without diving deep into the masks trying it yourself.
Open one of your images and start the panel. If it's not already in your toolbar you can enable it by selecting Window - Extensions.
- First select Luminosity as the source
- If you have Preview checkbox enabled panel will preview masks when you hover over buttons
- Select a mask by clicking on it, for example Darks-1
- And, finally, apply the mask to a new adjustment layer by clicking on a Curve button in the lower part of the panel.
In lesson 3 I will give you a full description of how panel works and can be used, For now just try to adjust the curve and you would notice that it doesn't affect lights. It happens because our mask limits the effect of the curve. You will see more detailed examples later, but I can already tell you now that with such darks masks you can increase contract in shadows or brighten dark parts of the image.
While panel is definitely the fastest and the most accurate way to make luminosity masks, you can also do this manually. This is what Lesson 2 will be focusing on, showing you all the necessary steps. Lessons 4-6 will teach your how to use different kinds of masks. Processed to next lesson to see which kinds of masks are there in Adobe Photoshop.
Preparing login widget...