In this article
5 advanced tricks with luminosity masks
Luminosity masks is a great tool, but like with any tool, there can be many ways how to use it. The basics of how masks in general and luminosity masks work you can find in my free course. In this article I want to show 5 advanced tricks with luminosity masks that you probably didn't know about.
You have probably heard that luminosity masks help greatly when blending exposures, controlling details, making natural looking HDR images and so on. But there are many more things you can do with them.
For convenience I will be using ARCPanel to create all masks, but you can also create luminosity masks manually if you want. Manual steps to create masks are described in this article.
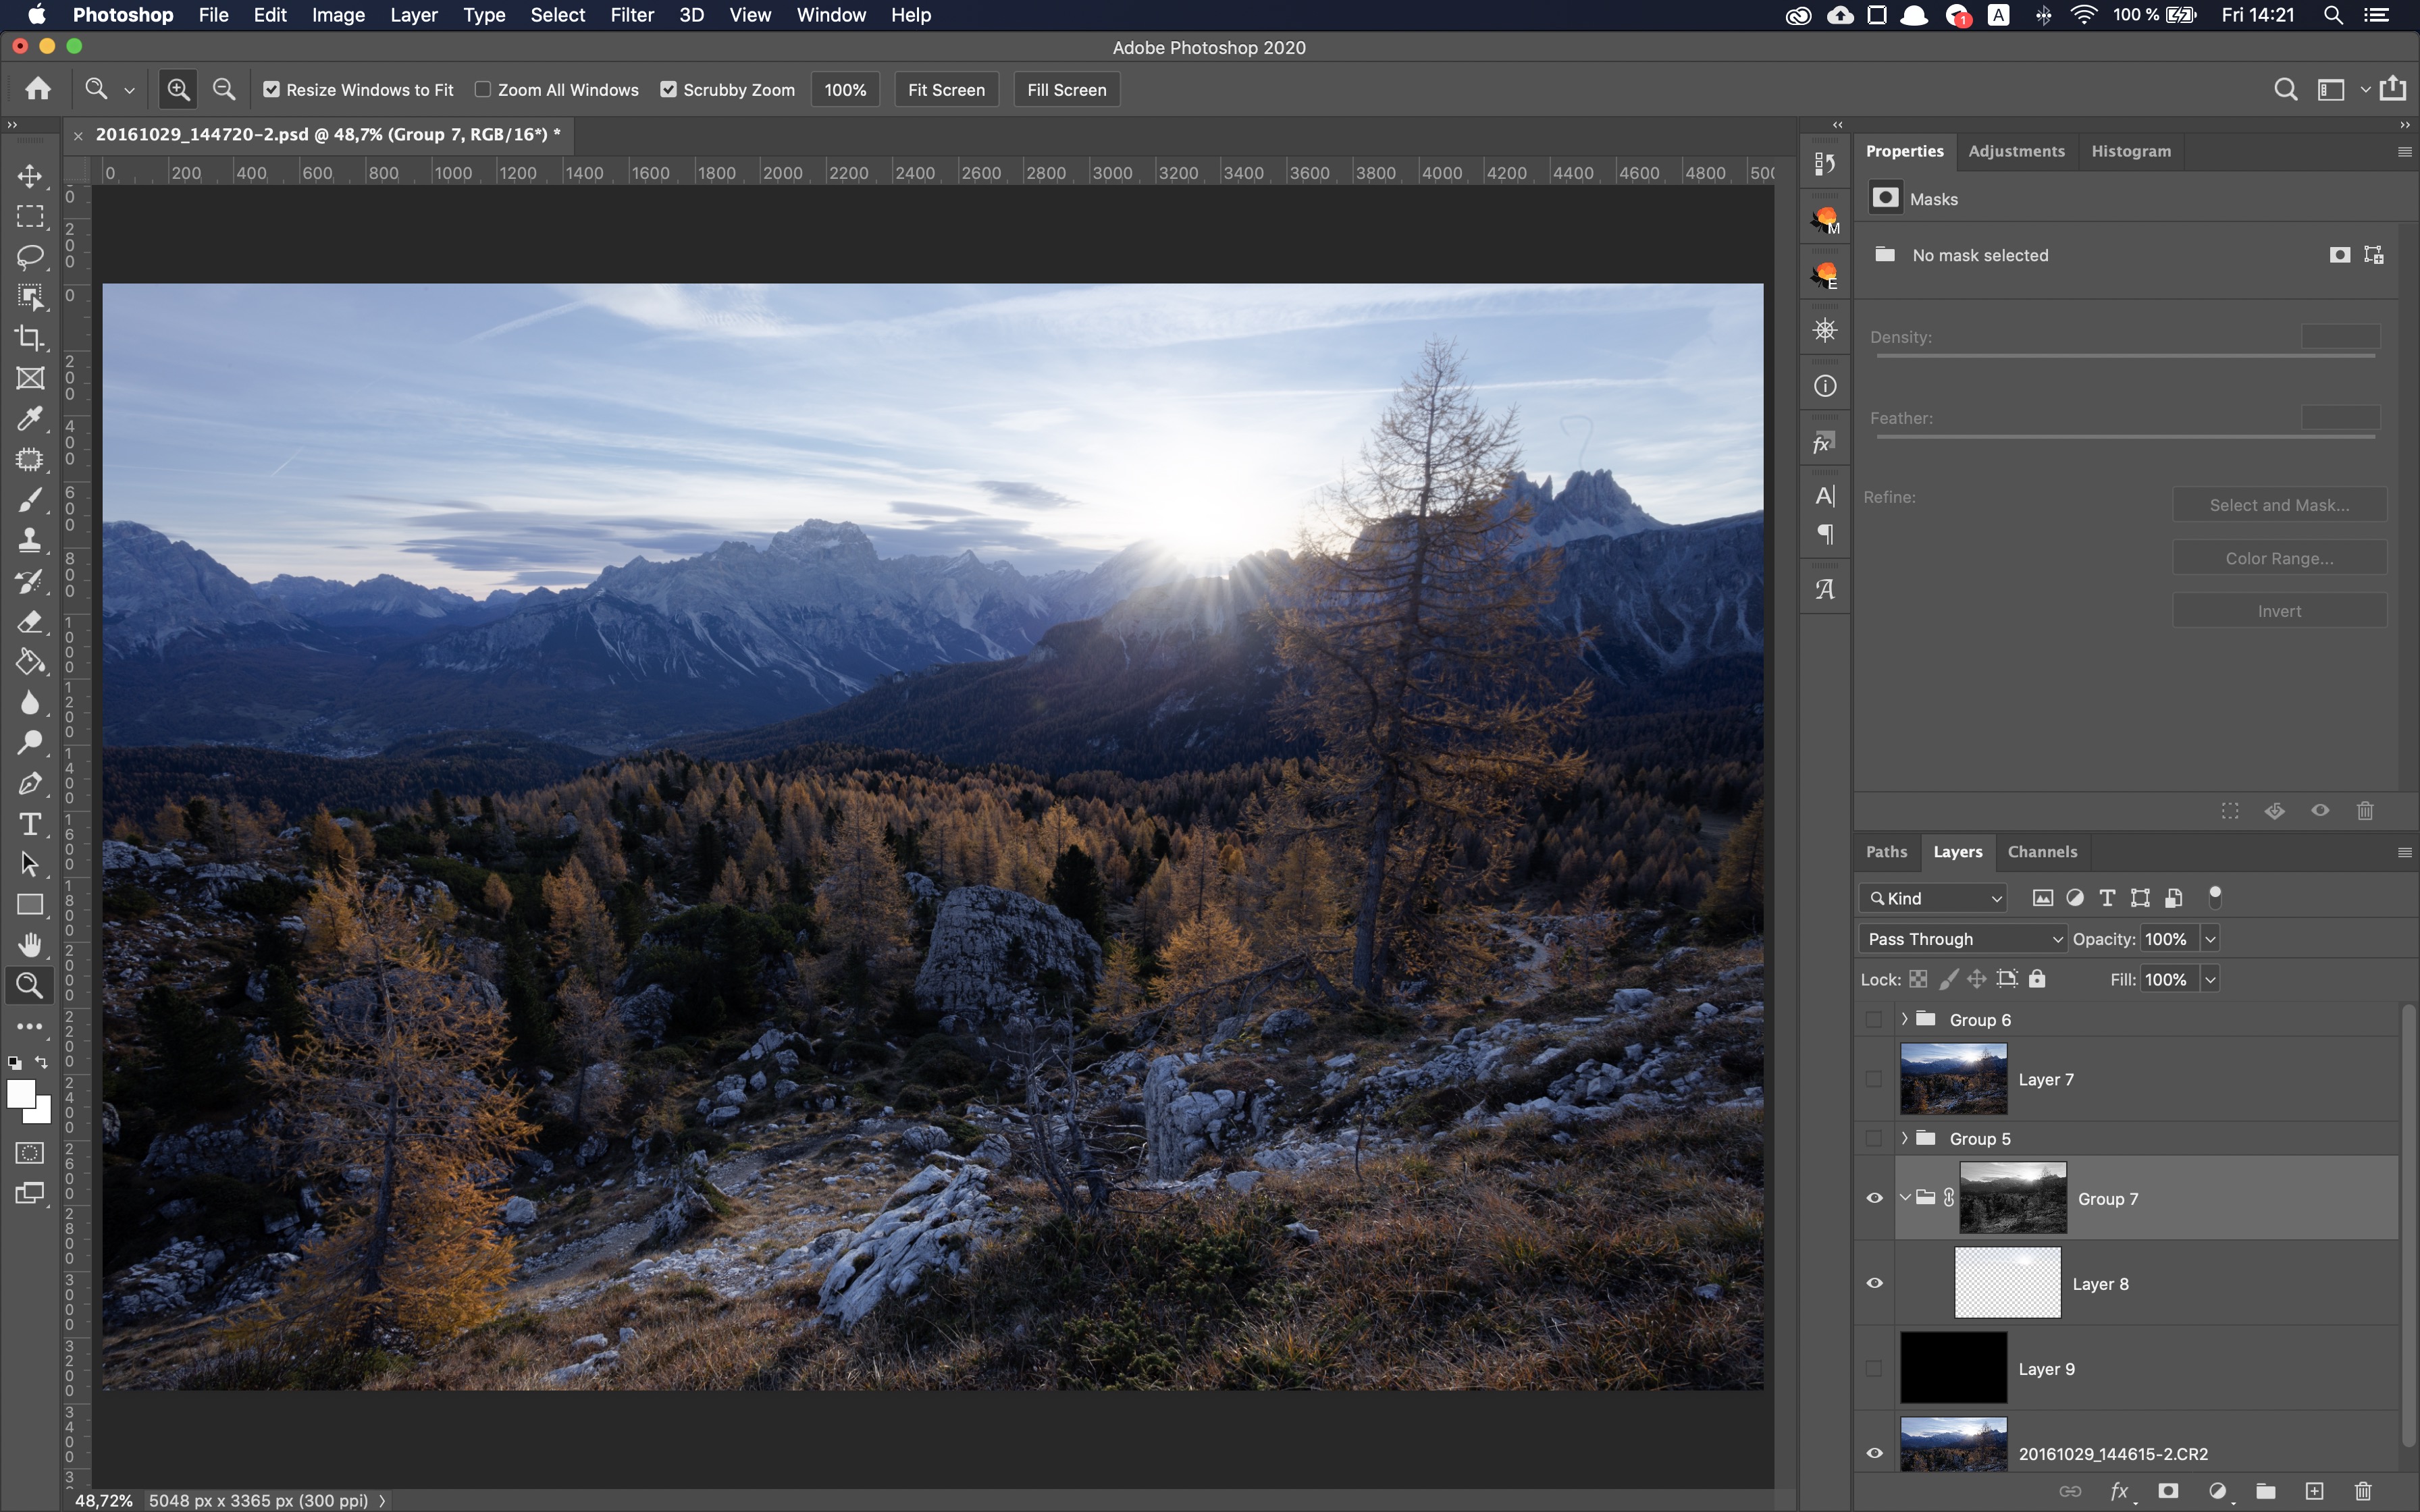
Limiting luminosity mask
Let's start with the most simple technique but, at the same time, the most popular.
You can use the group with the mask to further limit your luminosity masking effect.
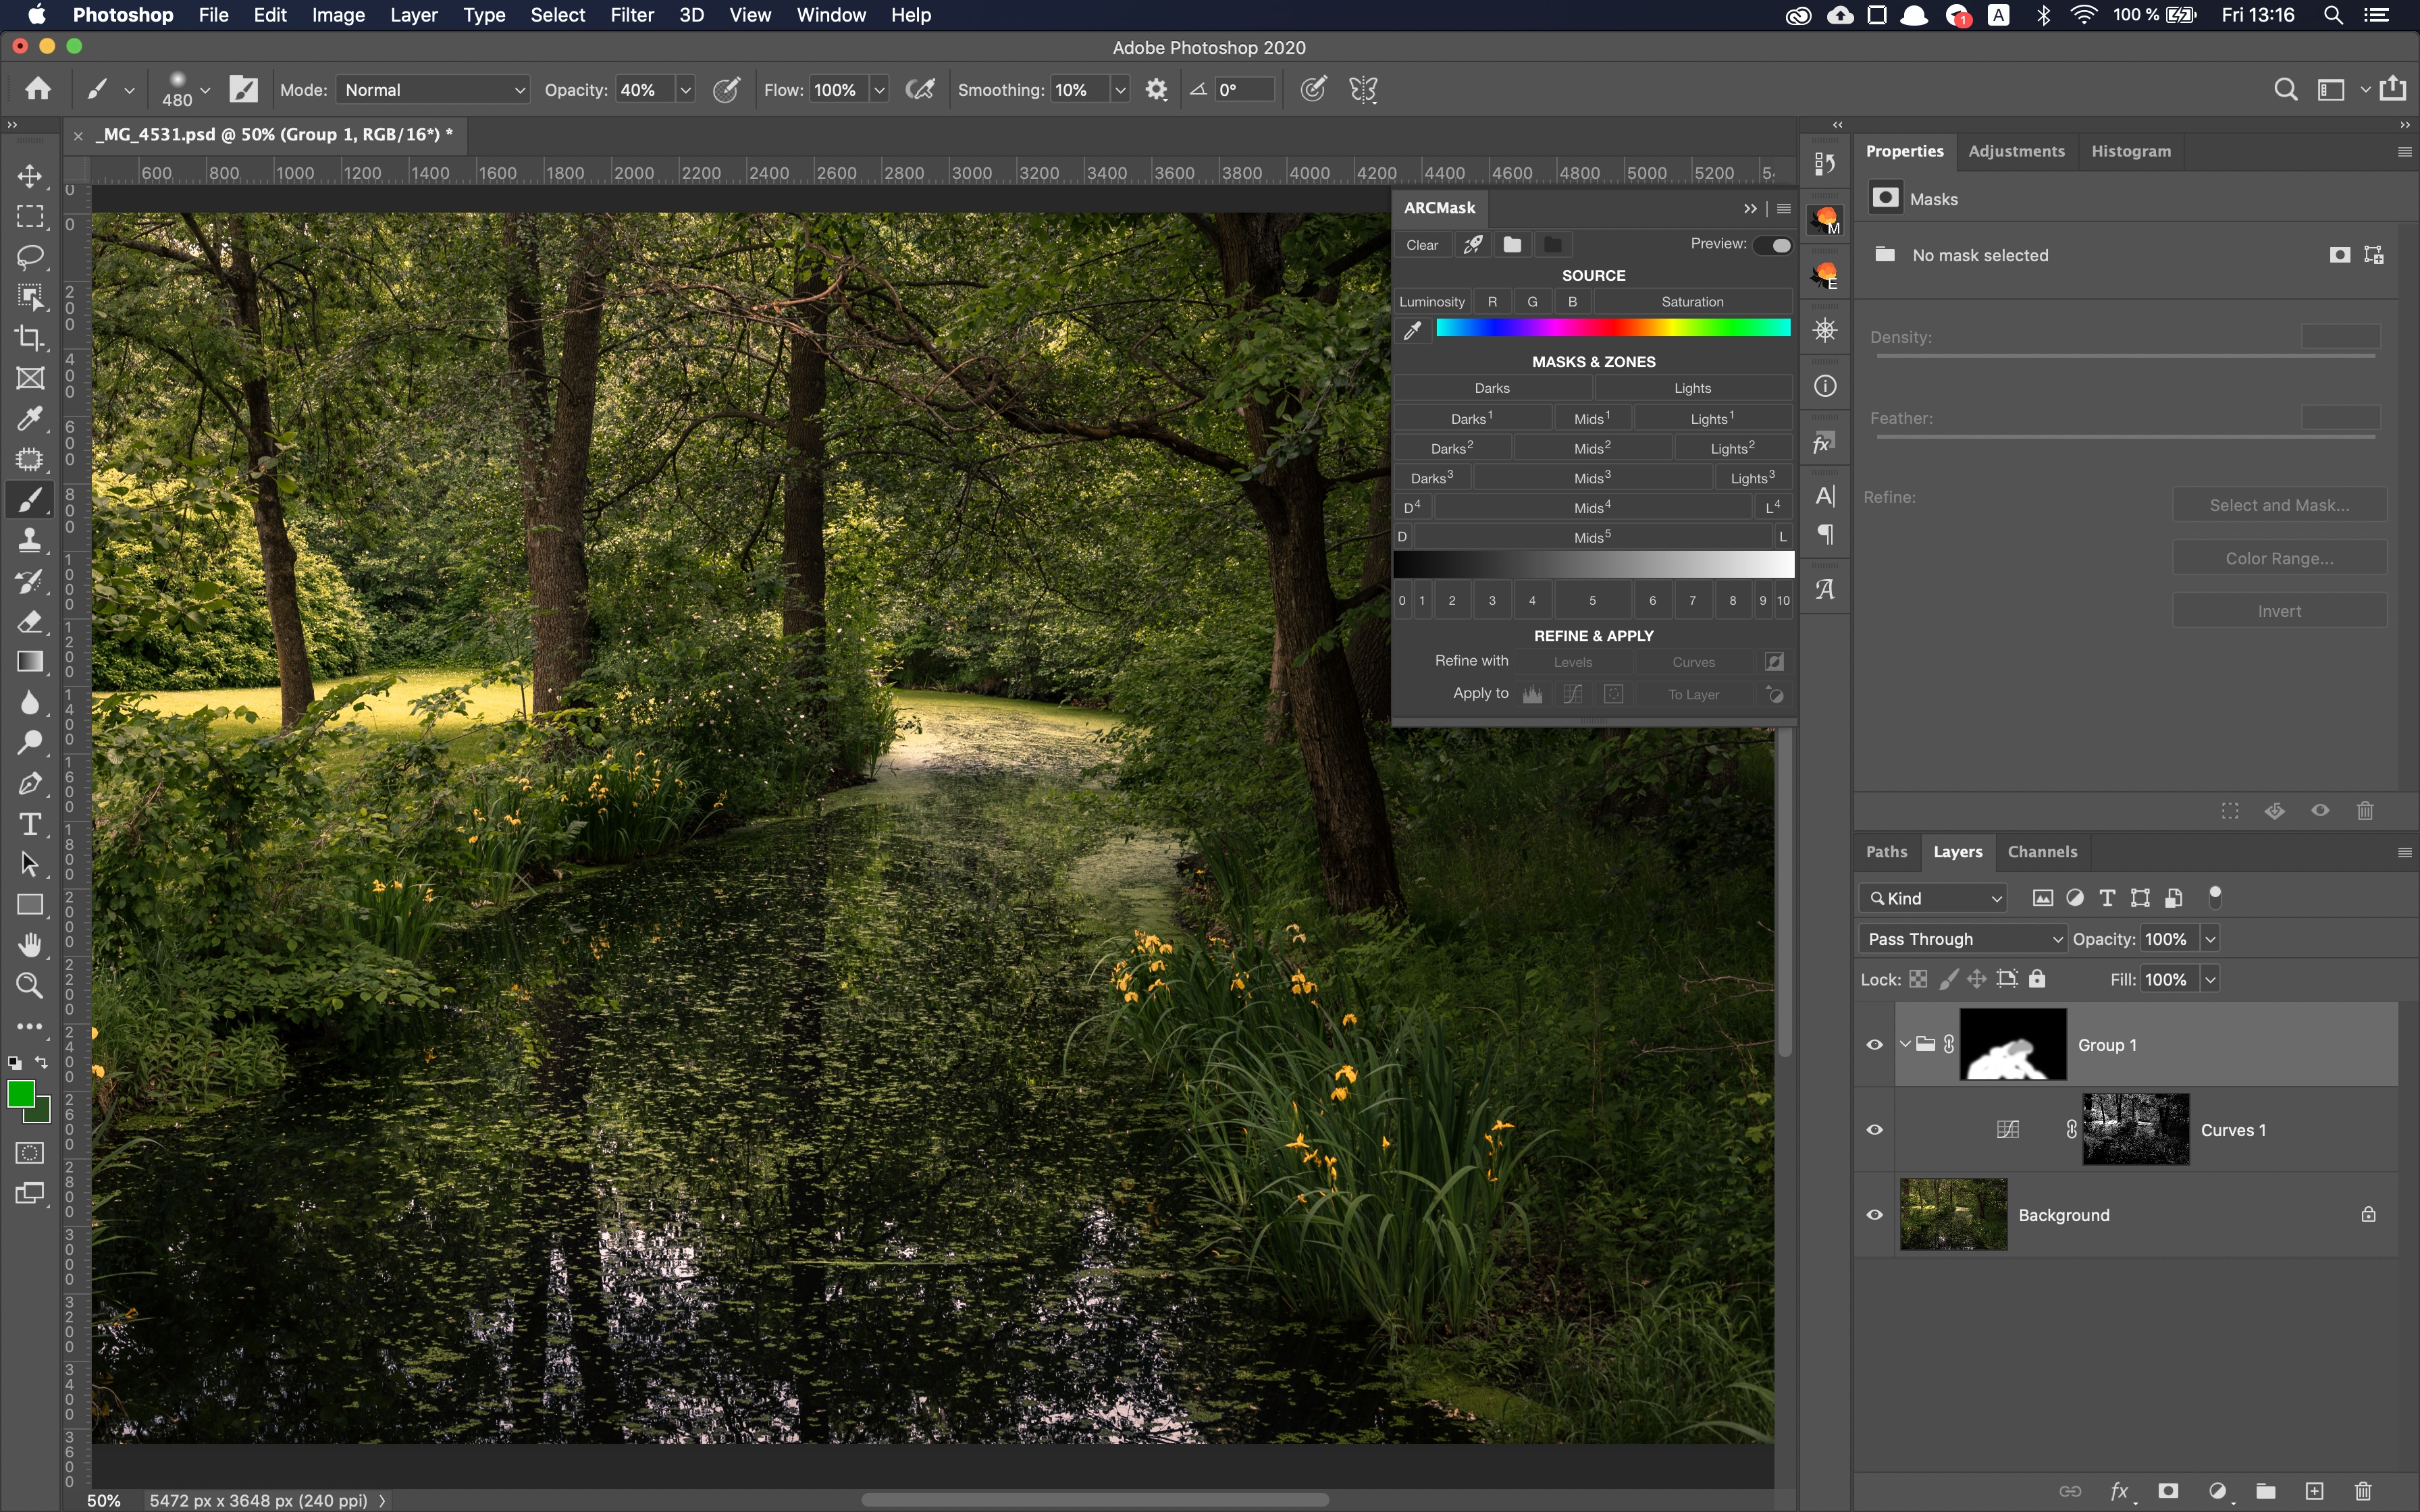
Very simple but very powerful technique.
You can read more about exact steps on how to do it in this article.
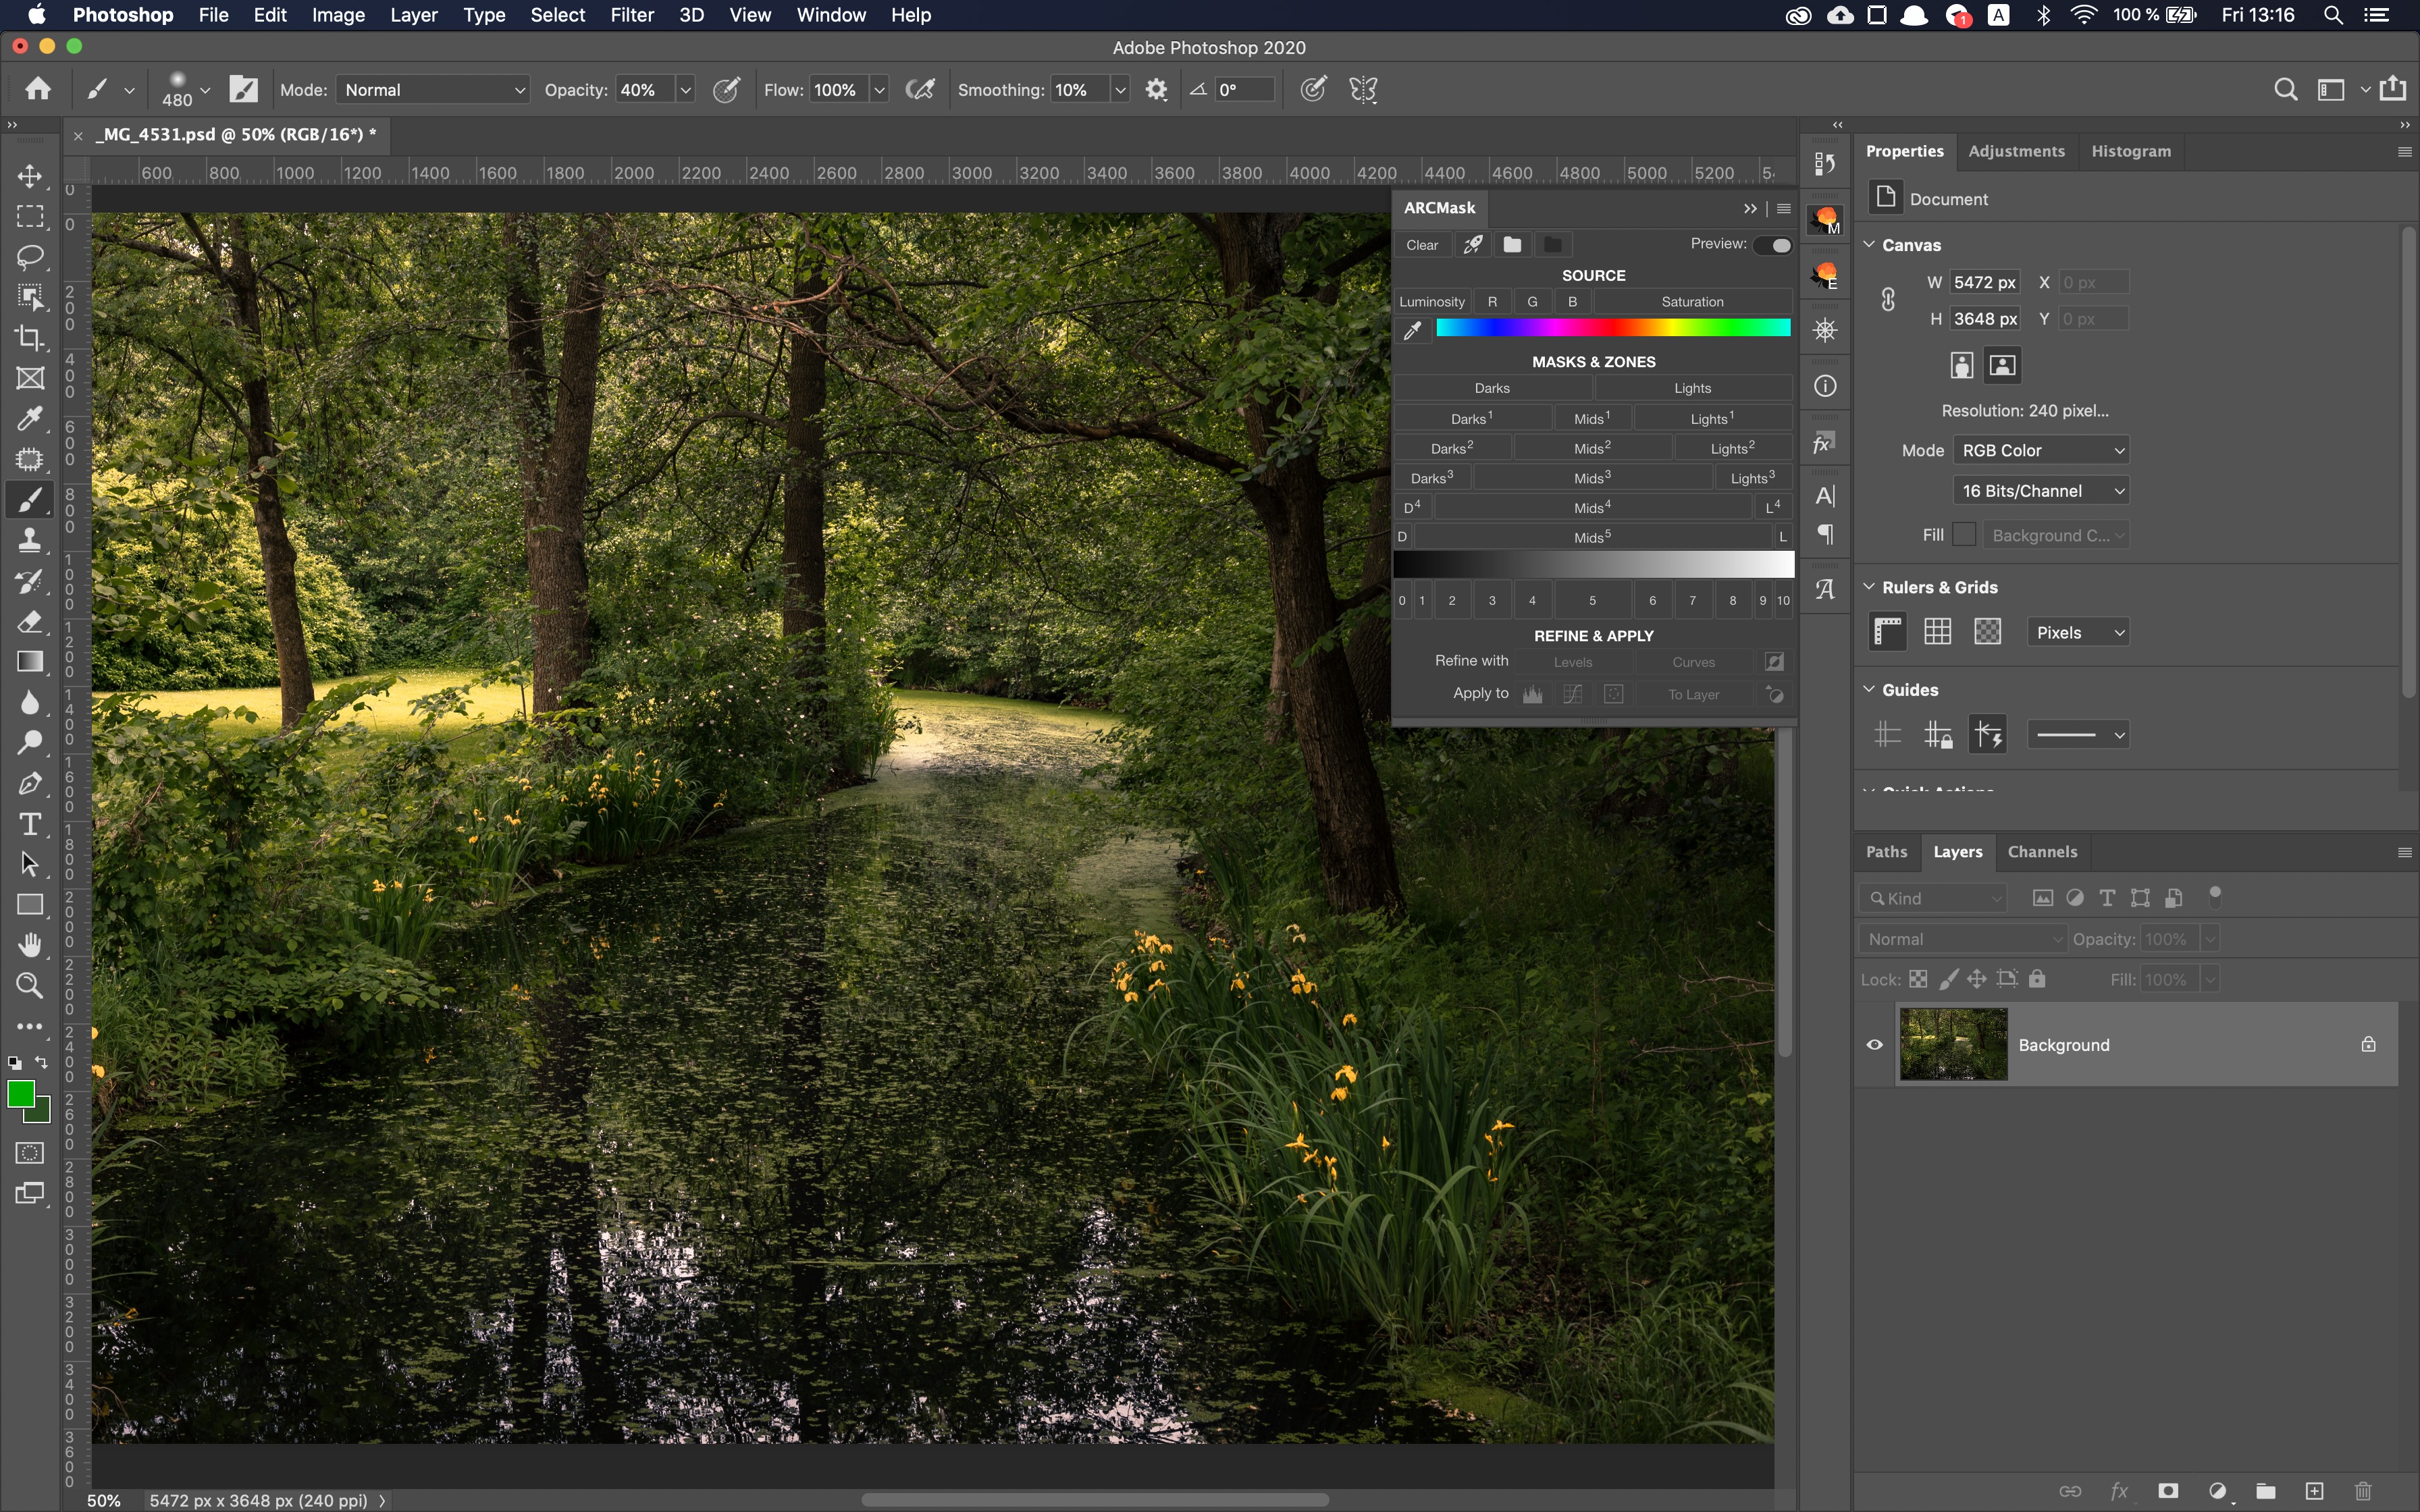
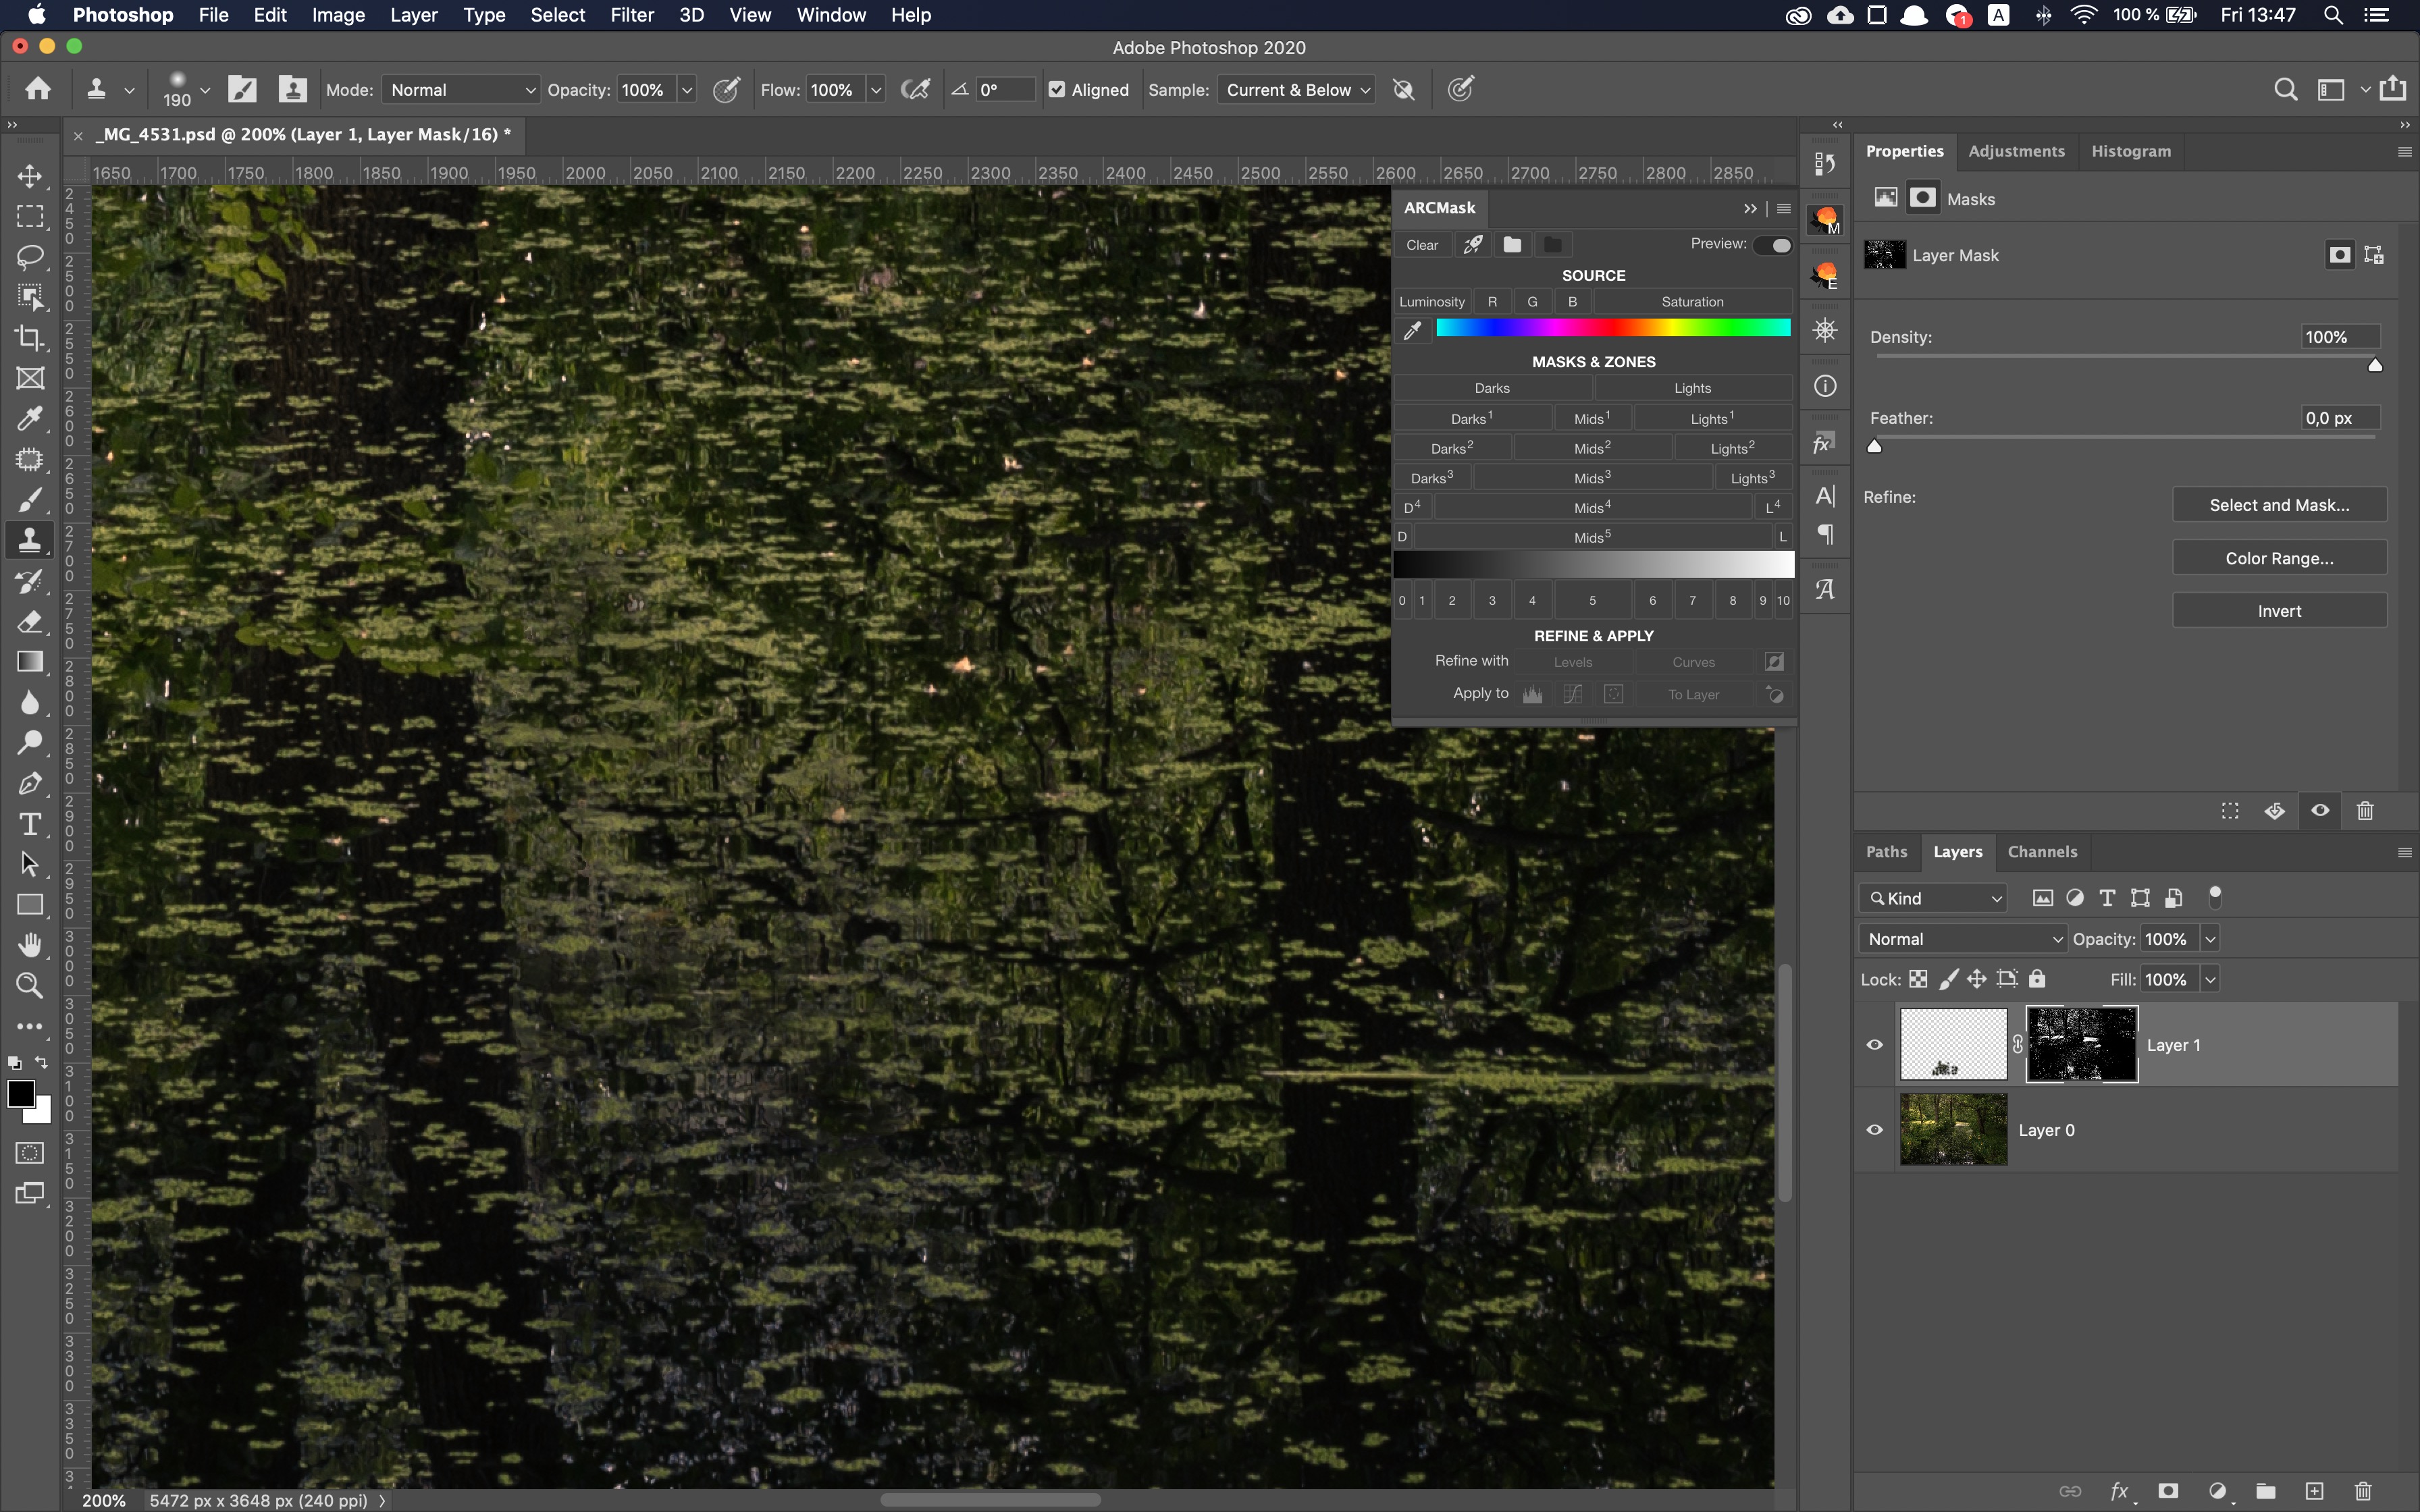
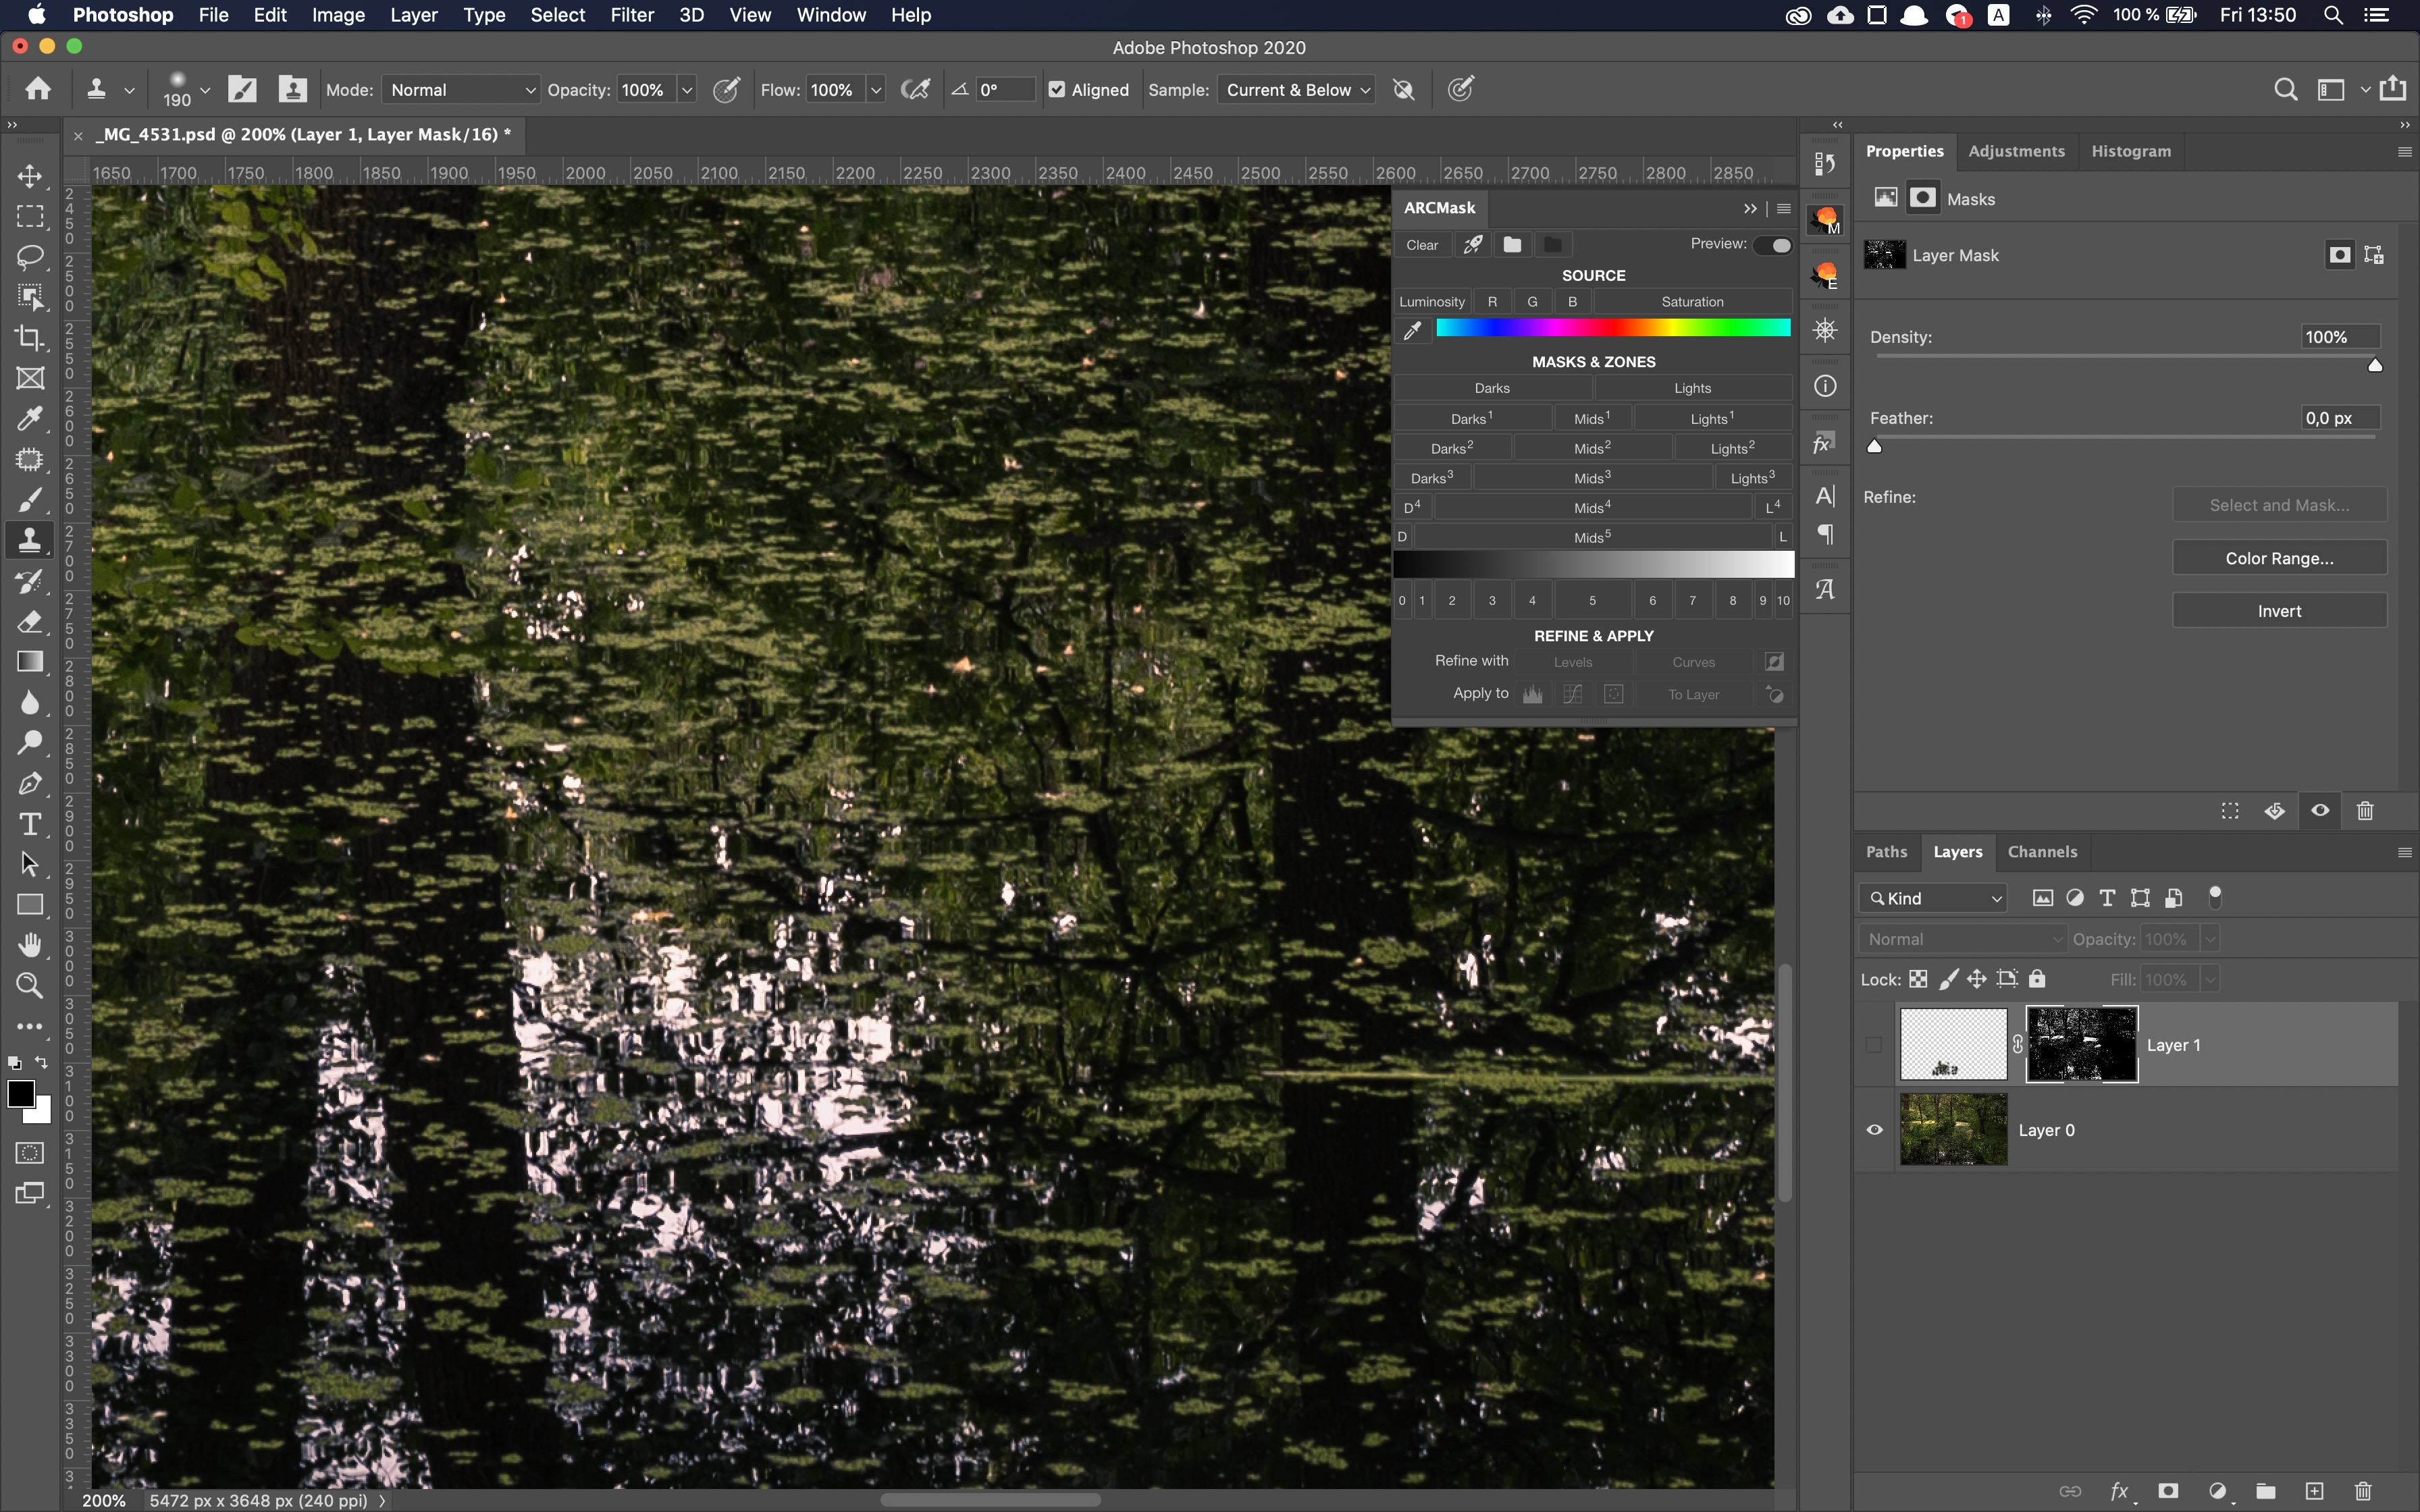
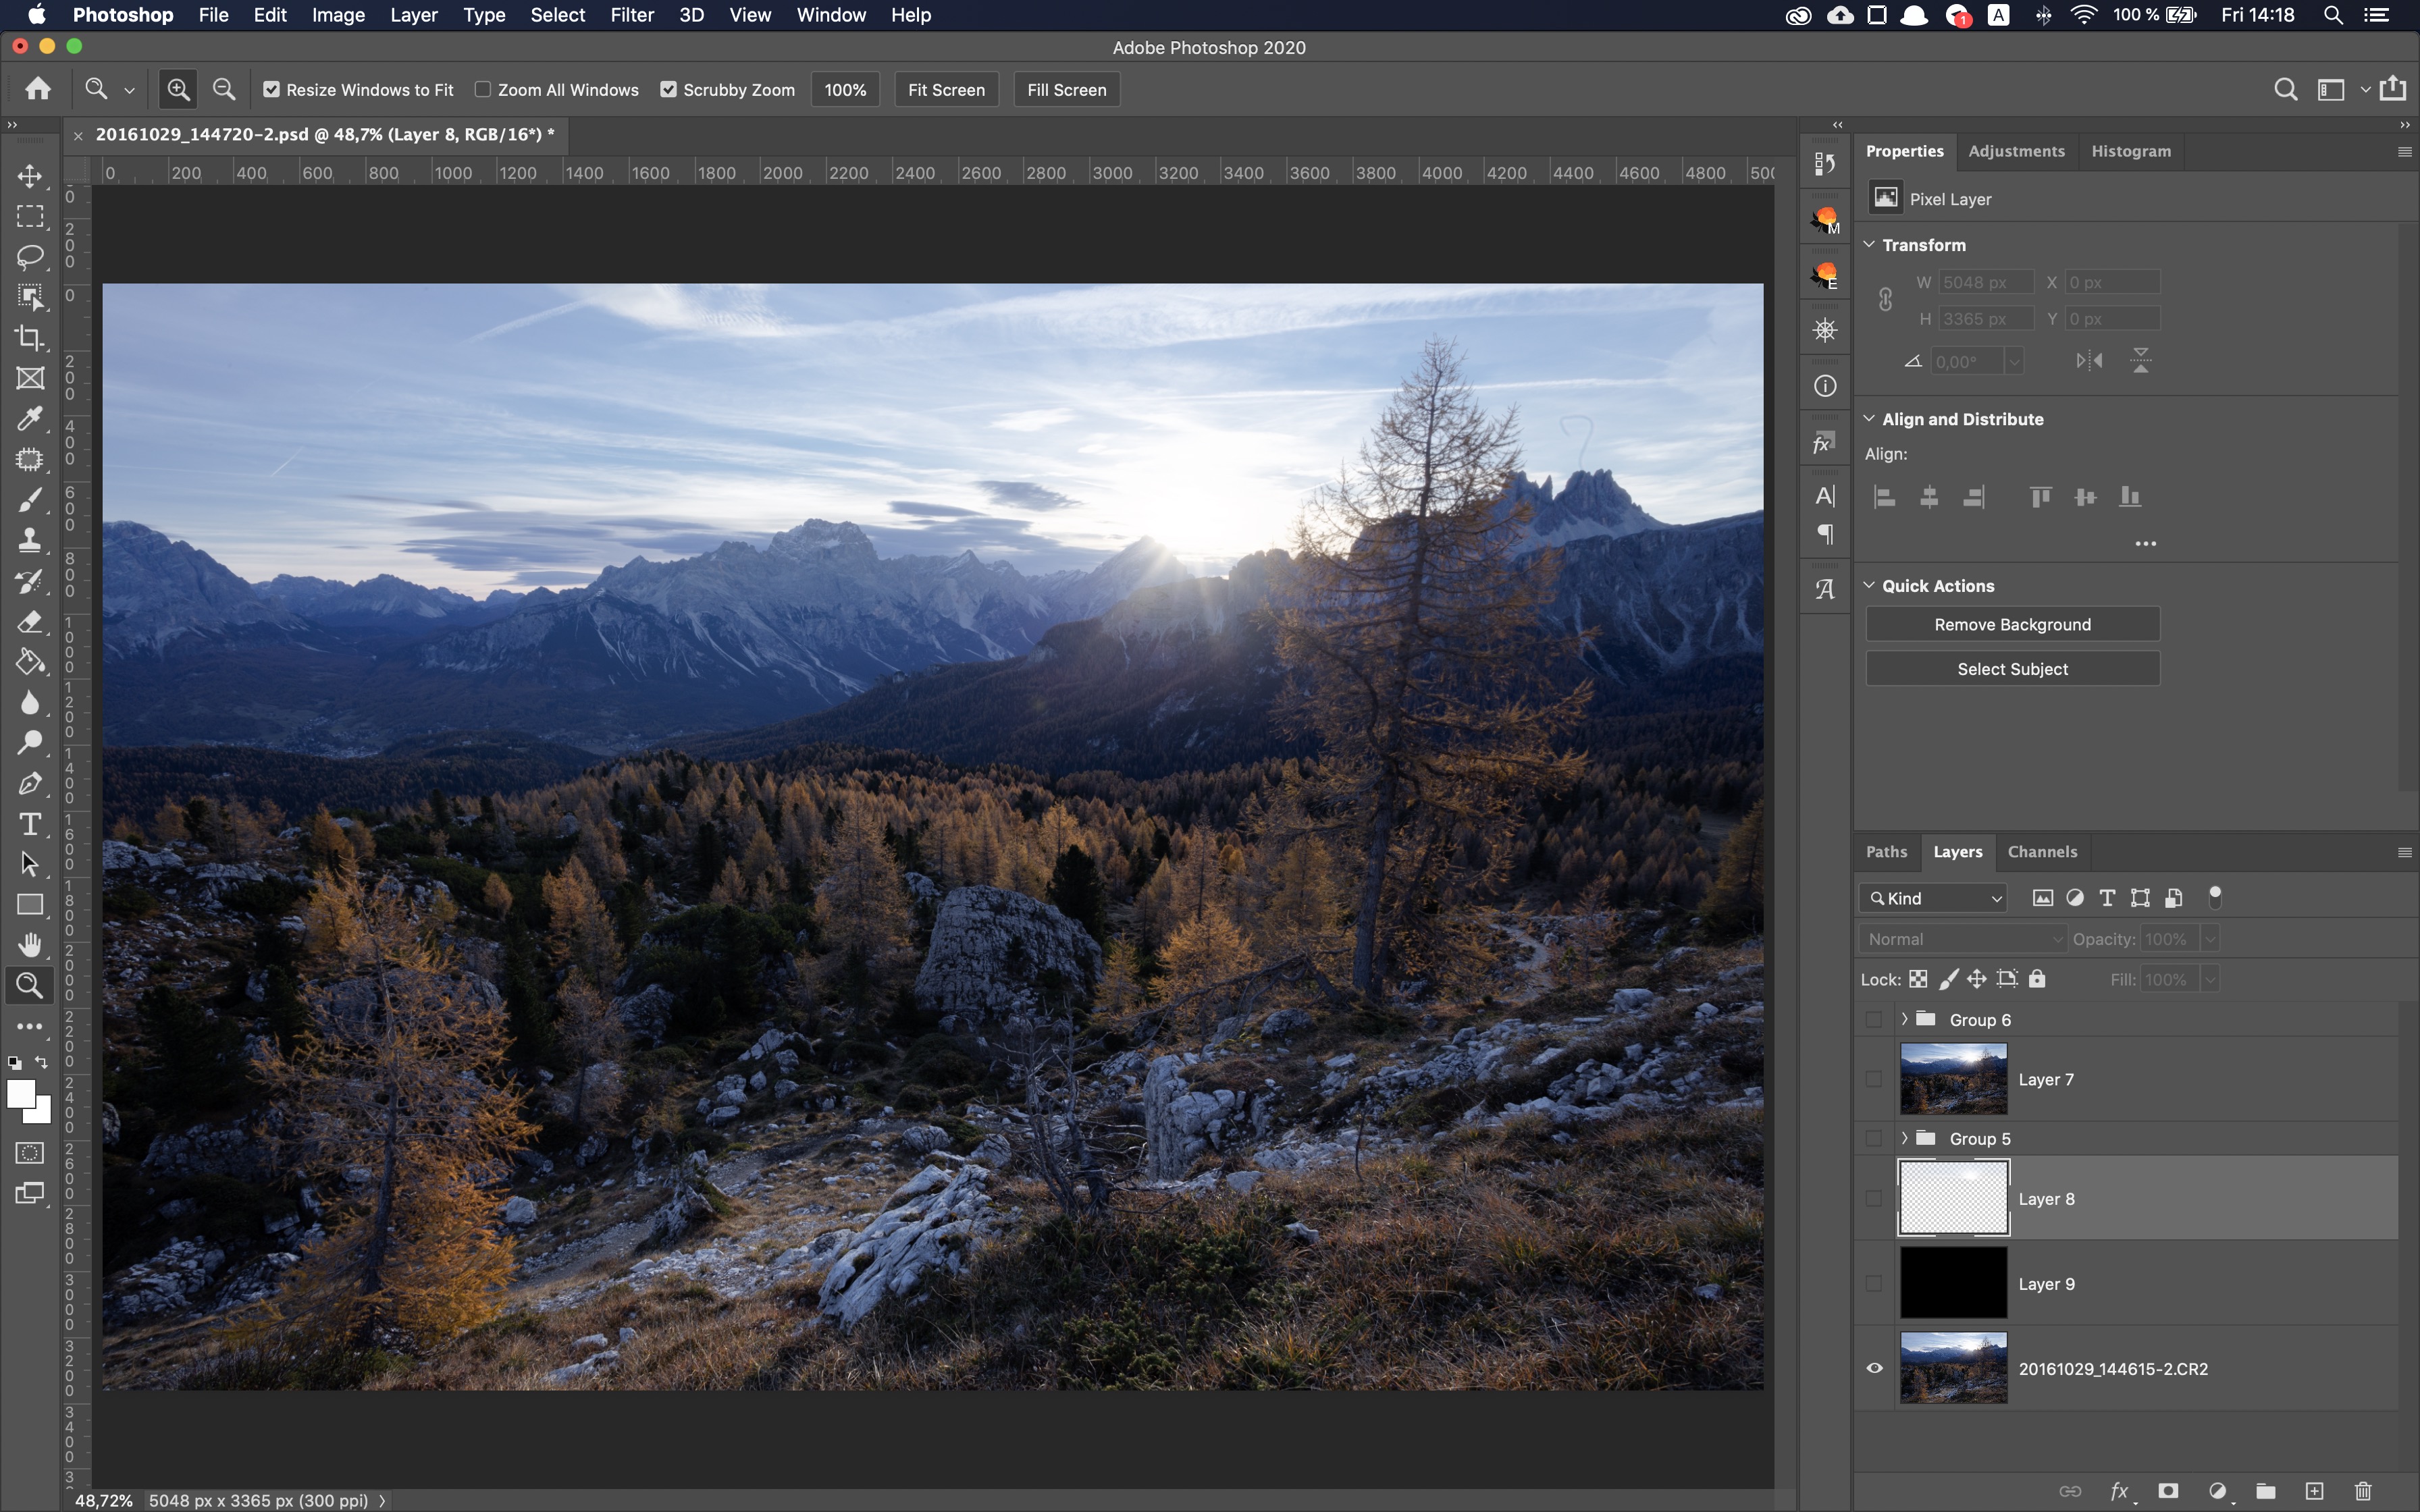
Remove sky spots
When shooting woodland photography quite often you get a very nice scene and usually you try to get as little of sky as possible to avoid distractions. Still, you can get some of the sky visible behind the leaves and when it's bright, it can be very distracting to the viewer.
Luckily, there is a way to fix it in post.
A detailed description and exact steps to take are described here.
Disclaimer
Now we are moving into a more creative part. I can understand that these effects can be controversial and not everybody will be willing to apply them in the images.
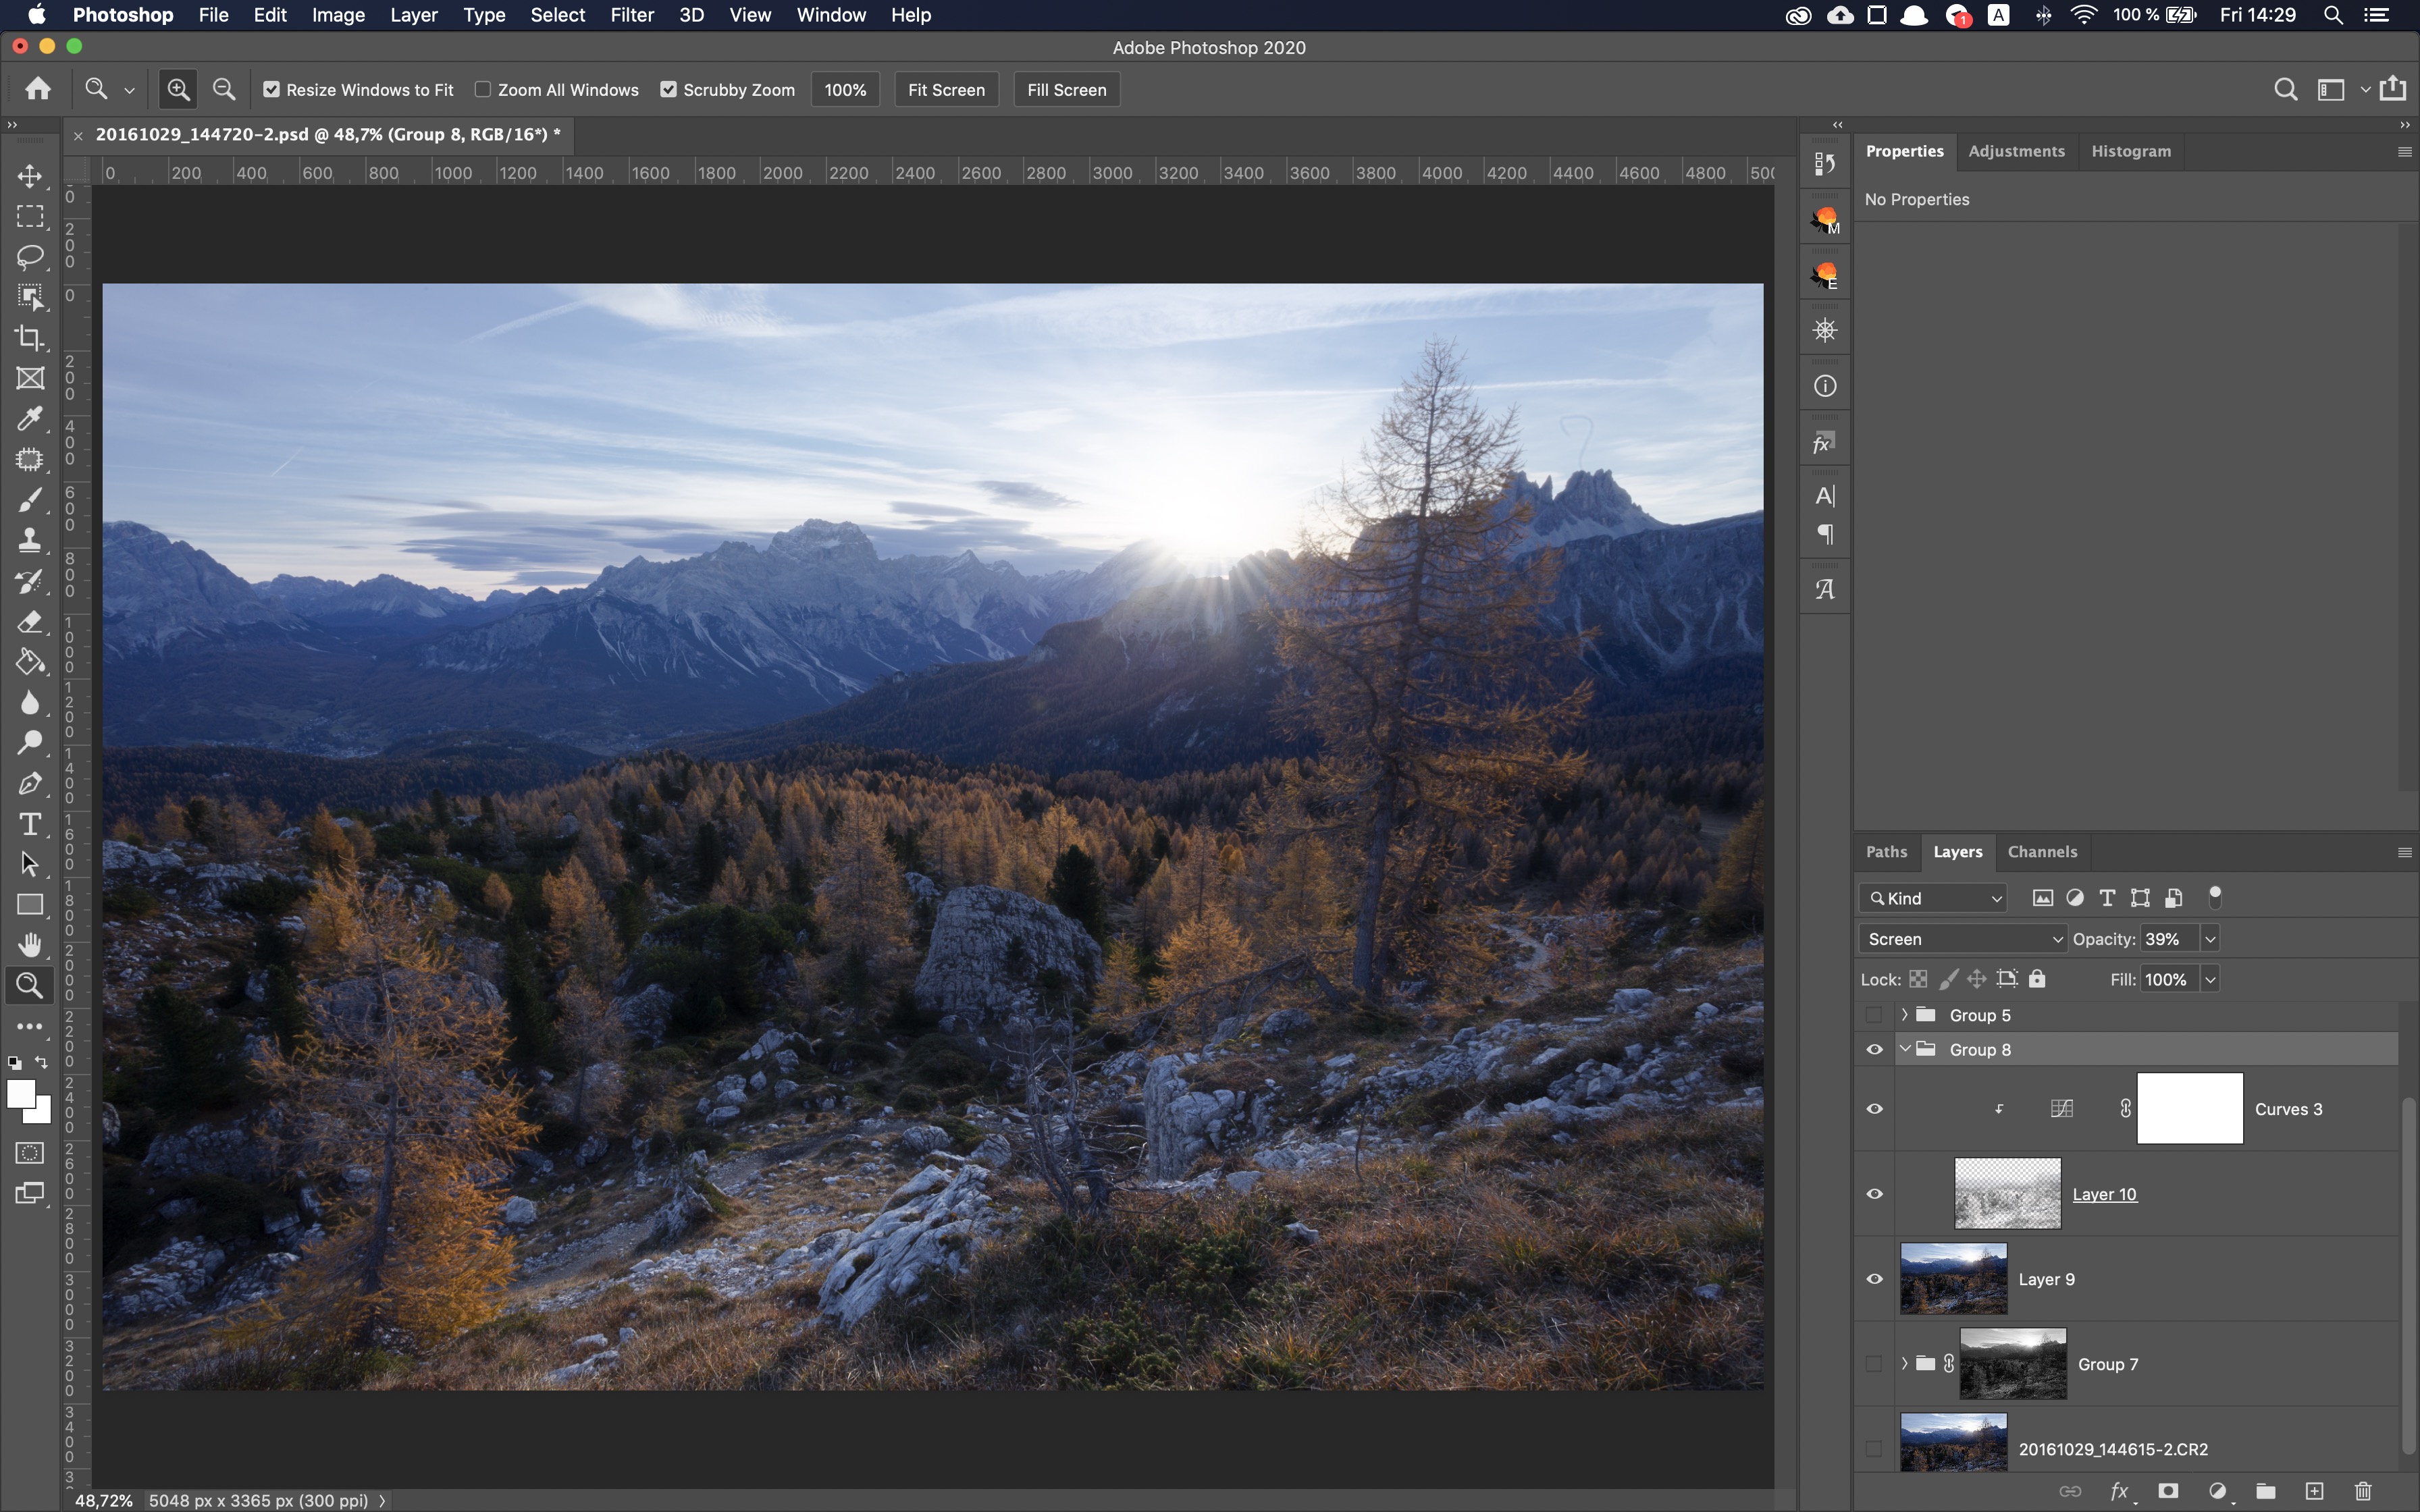
Realistic sun rays
Surely you have seen some of the videos on YouTube that show to add sun rays to the image. Luminosity masks can drastically improve how sun rays look and make them more realistic.
You can find more details in this article.
Painterly soft shadows
In the images of many famous landscape photographers you can see the effect of soft shadows. Now, there are many ways you can build it.
You can read how to make this effect with luminosity masks in this article.
Color Grade in Adobe Photoshop like in Davinci Resolve
Color grading is a big topic in video production. It's kind of the same as post processing in photography, but for video. It helps convey the mood of videographer and make sure colors are correct in the resulting image.
Davinci Resolve is de-factor standard for video grading, but you can surely get very close to what Resolve does in Adobe Photoshop with luminosity masks.
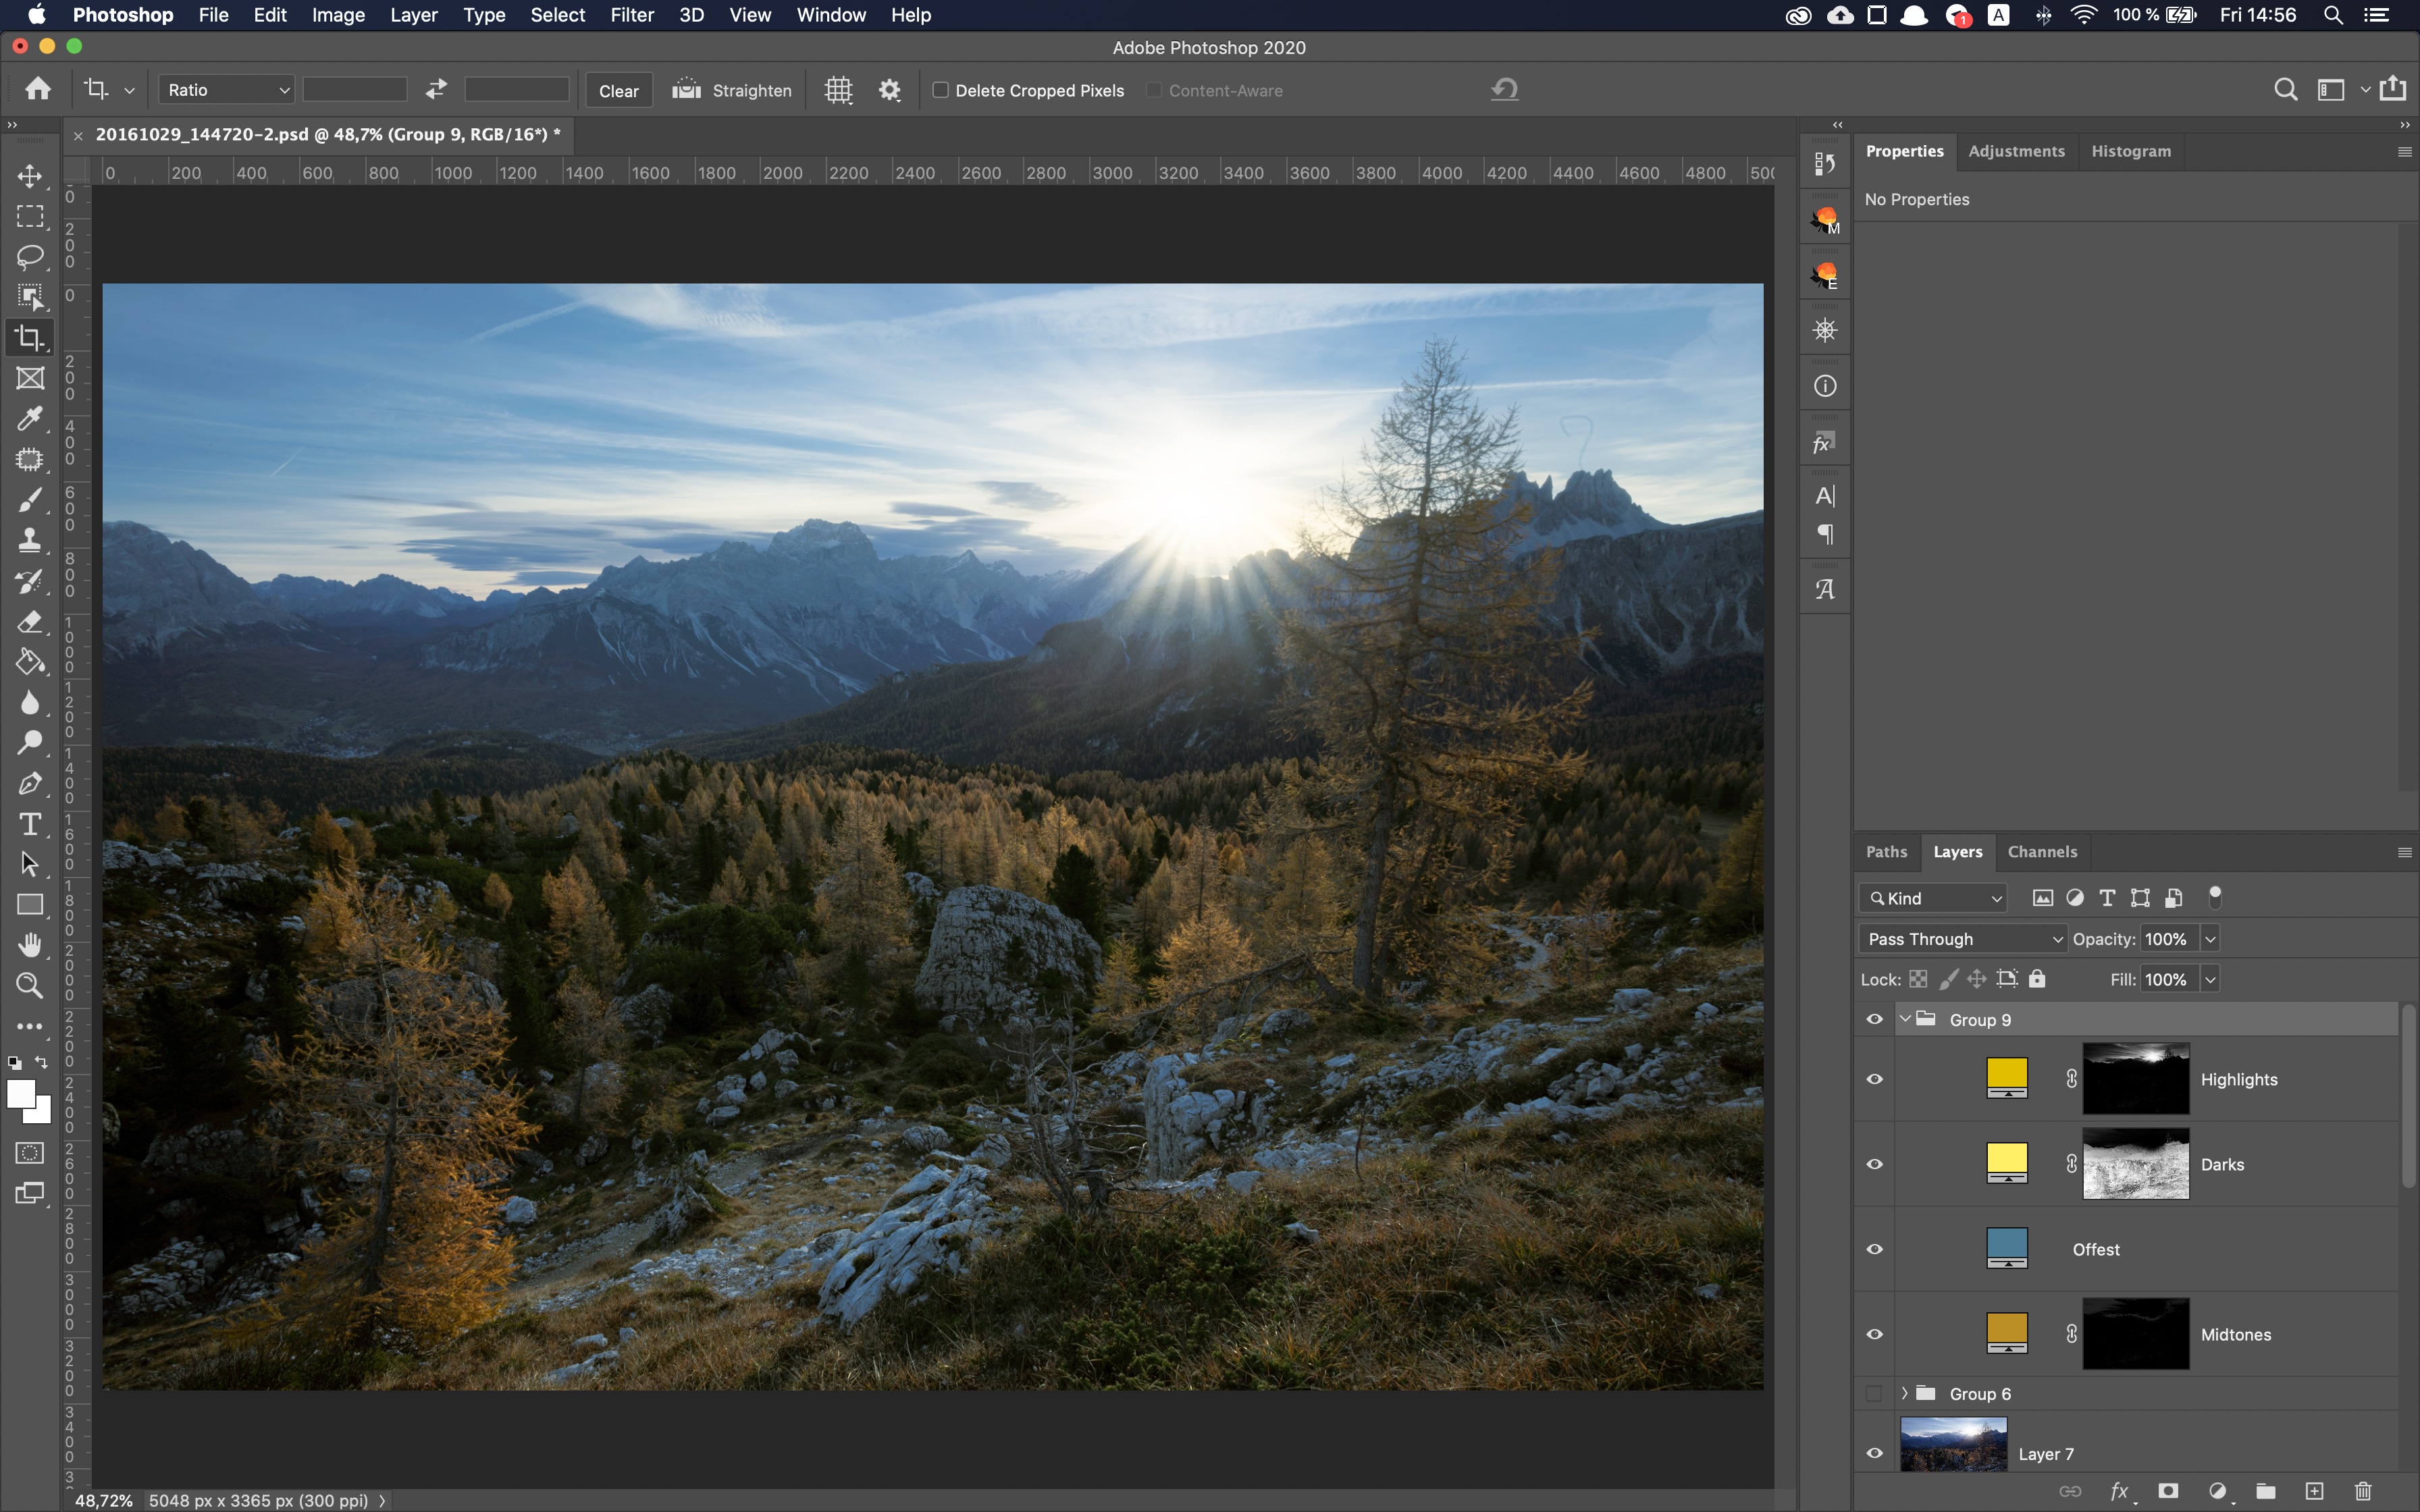
You can find exact steps how to make it work in this article.
Summary
The amount of things you can do with luminosity masks is enormous. I came up with some of the techniques in this article myself to show you the example how you can experiment with masks youself.
Do you know any other nice tricks with masks? I will gladly accept guest-posts in the Luminosity Masking blgo if you are interested.
Preparing login widget...