In this article
Luminosity Masks – ARCRetouch
ARCMask tab is mostly there to create, refine and apply luminosity masks. ARCRetouch, on the other had, has various helpful utilities and effects in it.
TOOLS
Creates a special curve that makes it much easier to spot dust, scratches or issues with clone stamp on the image.
Solar CurveFREQUENCY SEPARATION
Build
ORTON EFFECT
Generates Orton Effect in a Heavy configuration that darkens image a little.
Orton HeavyGenerates Orton Effect in a Soft dreamy configuration that lightens image a little.
Orton SoftDODGE & BURN
Generates Dodge & Burn using grey layers.
Grey LayersGenerates Dodge & Burn using curves.
Via CurvesGenerates automatic Dodging & Burning allowing select ranges via Blend If
AutomaticLet's see what it can do.
Solar curve
Solar Curve is a very simple way to find dust and dirt spots on the image. The most visible spots are usually fixed in RAW conversion, but in practice it rarely covers all. Bright spots are very difficult on bright surfaces, spots are even trickier to find on dark surfaces like dark sky or stones. Problem is all those nasty dirt spots will end up visible if you print image really large.
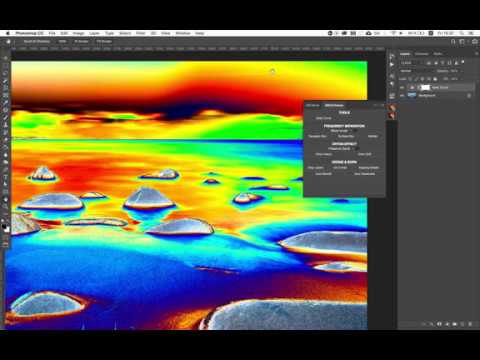
One click on Solar Curve creates a new layer that can help a lot finding spots that are not that visible. You can fix them as usual, with Stamp or Healing Brush tool. You are also welcome to play with Curve settings to find other dust spots on your image.
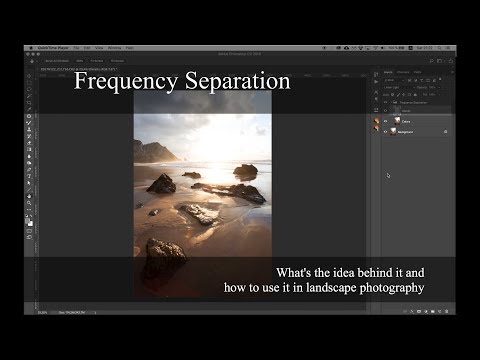
Frequency Separation
Frequency Separation is one of the most used tools in portrait post-processing and for sure deserves a dedicated article. In practice it helps to fix texture without changing the color. Works equally good for small and large textures.
Main idea of this tool is to extract some repeatable pattern ("frequency") into a separate layer, while keeping the rest of the image on another layer.
Some examples of high frequency elements could be skin pores, while wrinkles on clothing would be a low frequency.
You can often find an opinion that frequency separation helps to split image into Texture and Color. This is true only partially - color separation is just one of the possible examples of high frequency.
I will not try to explain Frequency Separation for portrait in details, there are already enough articles and YouTube videos doing that.
In landscapes, Frequency Separation can help fix all kinds of lens flares.
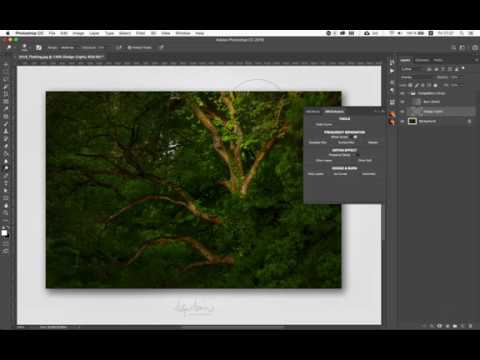
Now, I am not the best when doing YouTube videos, but you can find my 2-part video on Frequency Separation on the YouTube channel.
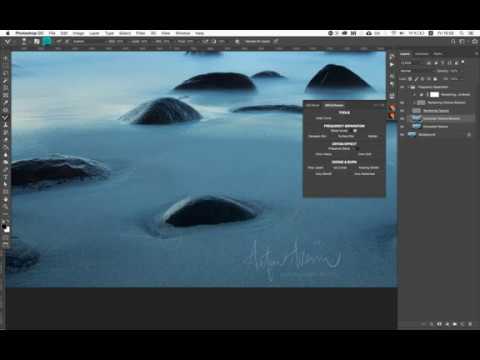
Panel offers 3 ways to build Frequency Separation, all letting you pick different kinds of frequency.
- Gaussian Blur – classical Frequency Separation
- Surface Blur - gives more accurate results in portraits
- Median Blur – an alternative method that works best with clothing and jewelry
Each method generates some extra layers to allow faster processing and an extra layer for Enhanced Texture - it help faster finding different skin issues in portraits.
Many professionals when applying Frequency Separation prefer to use Mixer brush, it gives better results when working with jewelry, clothing and small details in general. With Mixer brush checkbox selected this tool will be automatically enabled after Frequency Separation is built.
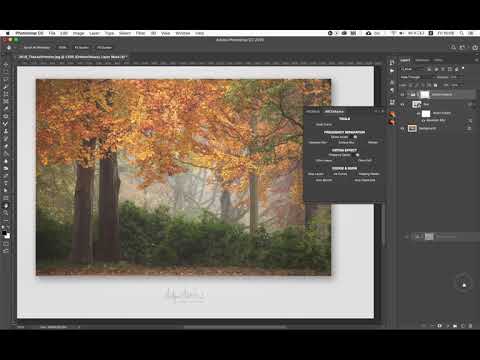
Orton Effect
Othon Effect came to photography from cinematography and got it's name from it's creator - Michael Orton. In 80s he was overlaying two slides with the same image on top of each other, having one of the slides out of focus. Results were quite magical looking, as if there was some kind of soft blur on the whole image.
This effect because very popular in modern landscapes. I am sure you have seen images with soft blurry glow. One of the keys to good Orton effect is to not over-do it. As is with any effect, it would look much less natural and pleasing if you have too much of it in the image.
Panel offers 2 ways of building Orton Effect - strong and soft. There is also a way to build Orton with shadows protection, because quite often Orton effect darkens shadows too much.
Strong Orton before/after
Soft Orton before/after
Dodge&Burn
I have already talked about Dodge&Burn in the last lesson of the Luminosity Masking Basics course. Dodge&Burn is a very popular way to accentuate different parts of the image by darkening and brightening them.
There are many ways to Dodge&Burn. Many modern photographers even add colors to the mix, with that changing not only light, but also a color component of the image.
Two of the most popular methods to build Dodge&Burn layers are neutral gray layers and curves.
Neutral gray layers are probably the easiest to use because all the changes to the brightness are displayed right when you paint. This approach works with the help of blending modes in Adobe Photoshop. Many people use the same layer for both dodging and burning - a neutral grey layer in Soft Light blending mode. Panel offers two separate layers, one for dodging and one for burning, but you can decide which one to use for what. The dodging layer is a neutral gray layer in Soft Light, the burning layer is neutral gray layer in Overlay. They produce a bit different results when you paint on them with either soft white or soft black brush. Feel free to experiment here and pick the effect you like more.
Another approach is to use two curves adjustment layers and instead reveal or hide those layers with a mask. The good thing here is that you always can change the curve and, for example, make everything darker or brighter. This method is used in portraits more often.
Panel also offers quite unique, automatic way to dodge and burn that works based on Blend-If functionality. Also works best in portraits, but you can always just try the effect and, if necessary, use previously shown approach with group and black mask to control the effect strength.
Summary
This covers description of ARCRetouch.
Hope it will help you have better quality images. The main tab, ARCMask, You can always purchase on the website.
Preparing login widget...