Share
Luminosity Masks – Midtone luminosity masks
We have already figured out lights and darks masks. What about mids?
In practice midtone masks are used the least. Partly this is because when looking at the image it can be quite difficult to understand which tones will end up in mids mask and it's even more difficult to understand which level of mids to use.
To understand mids it's best to think of them as if you are subtracting lights and darks from the image.
In ARCPanel, gradient under the masks and Preview function will help you much faster see which part of the image will be affected.
Mids mask by itself works best to add soft contrast. Soft because the brightest and the darks parts of the image, depending on the level of mids mask, will not be involved.
Increasing contrast protecting lights and darks
For mids mask to work best in the image it would be a good idea to refine it with levels.
Let's see how it can work in practice.

Having this image, let's first try to increase contrast using levels adjustment layer. To make sure we don't involve bright lights and deep shadows, we will remove them in levels.

Now let's do a similar contrast, but limiting the effect with midtone masks, Mids-3 in this case.

Not a big difference at the first sight. But you will start noticing it more and more if you check deep shadows.
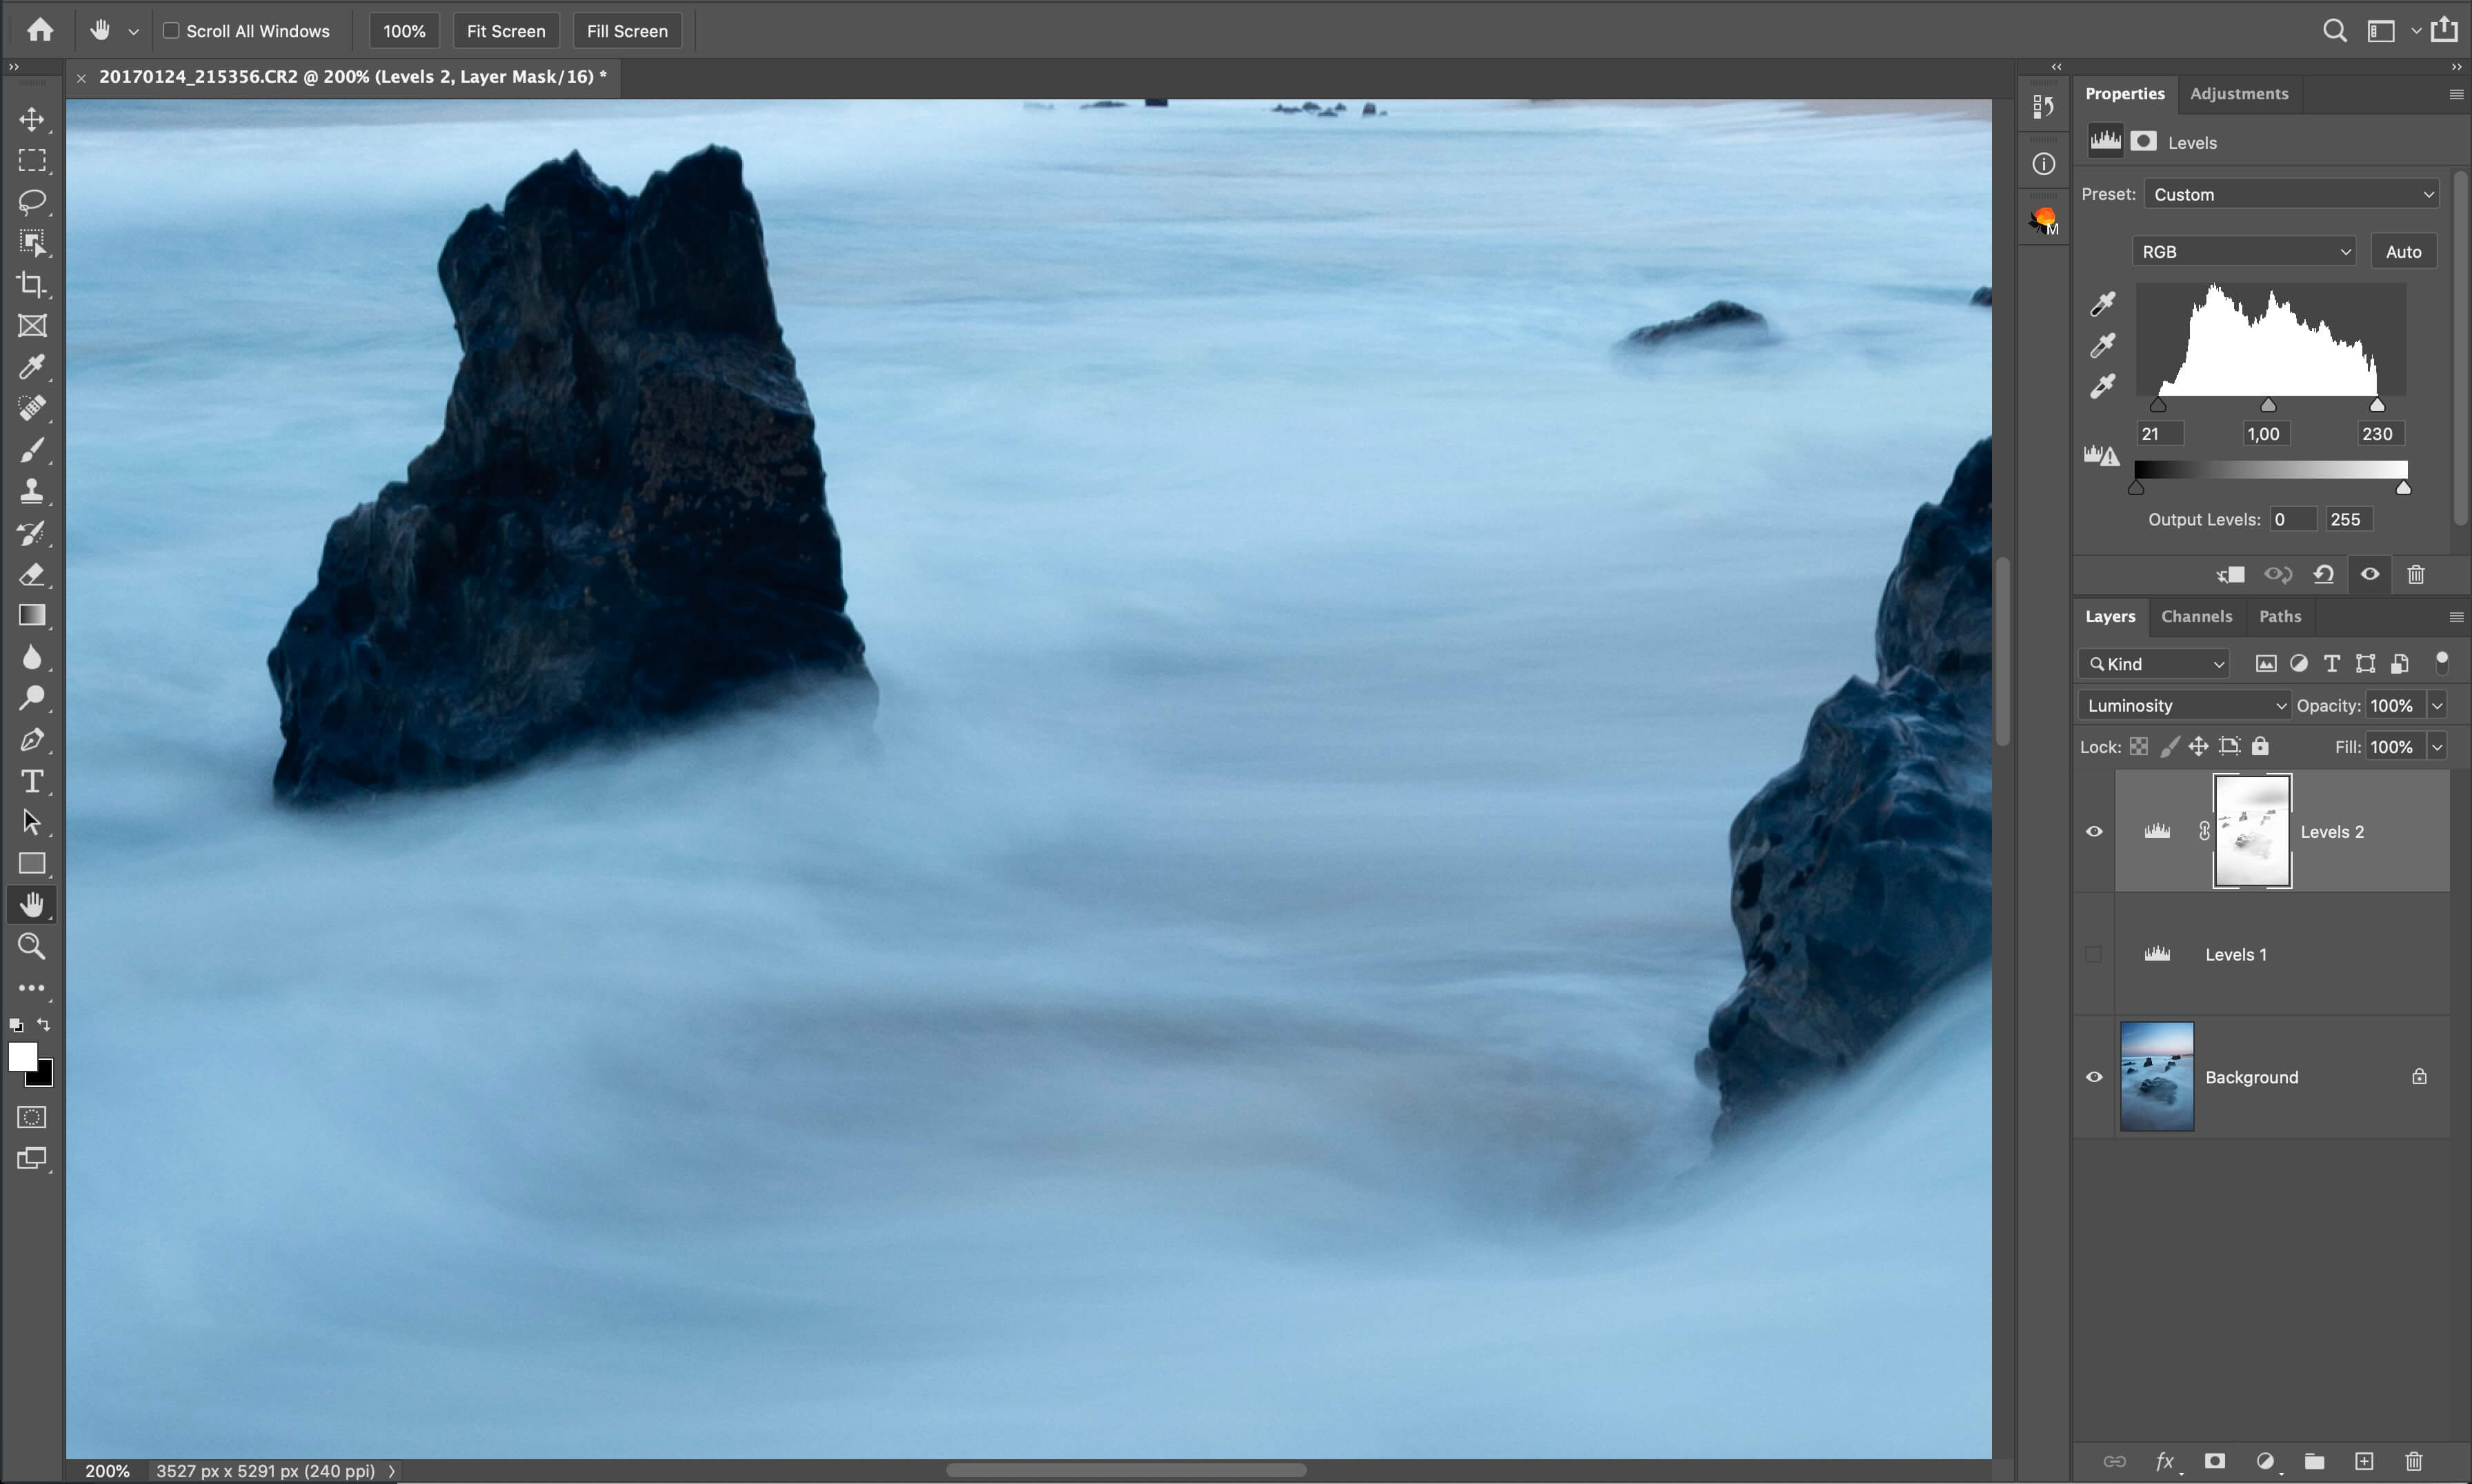
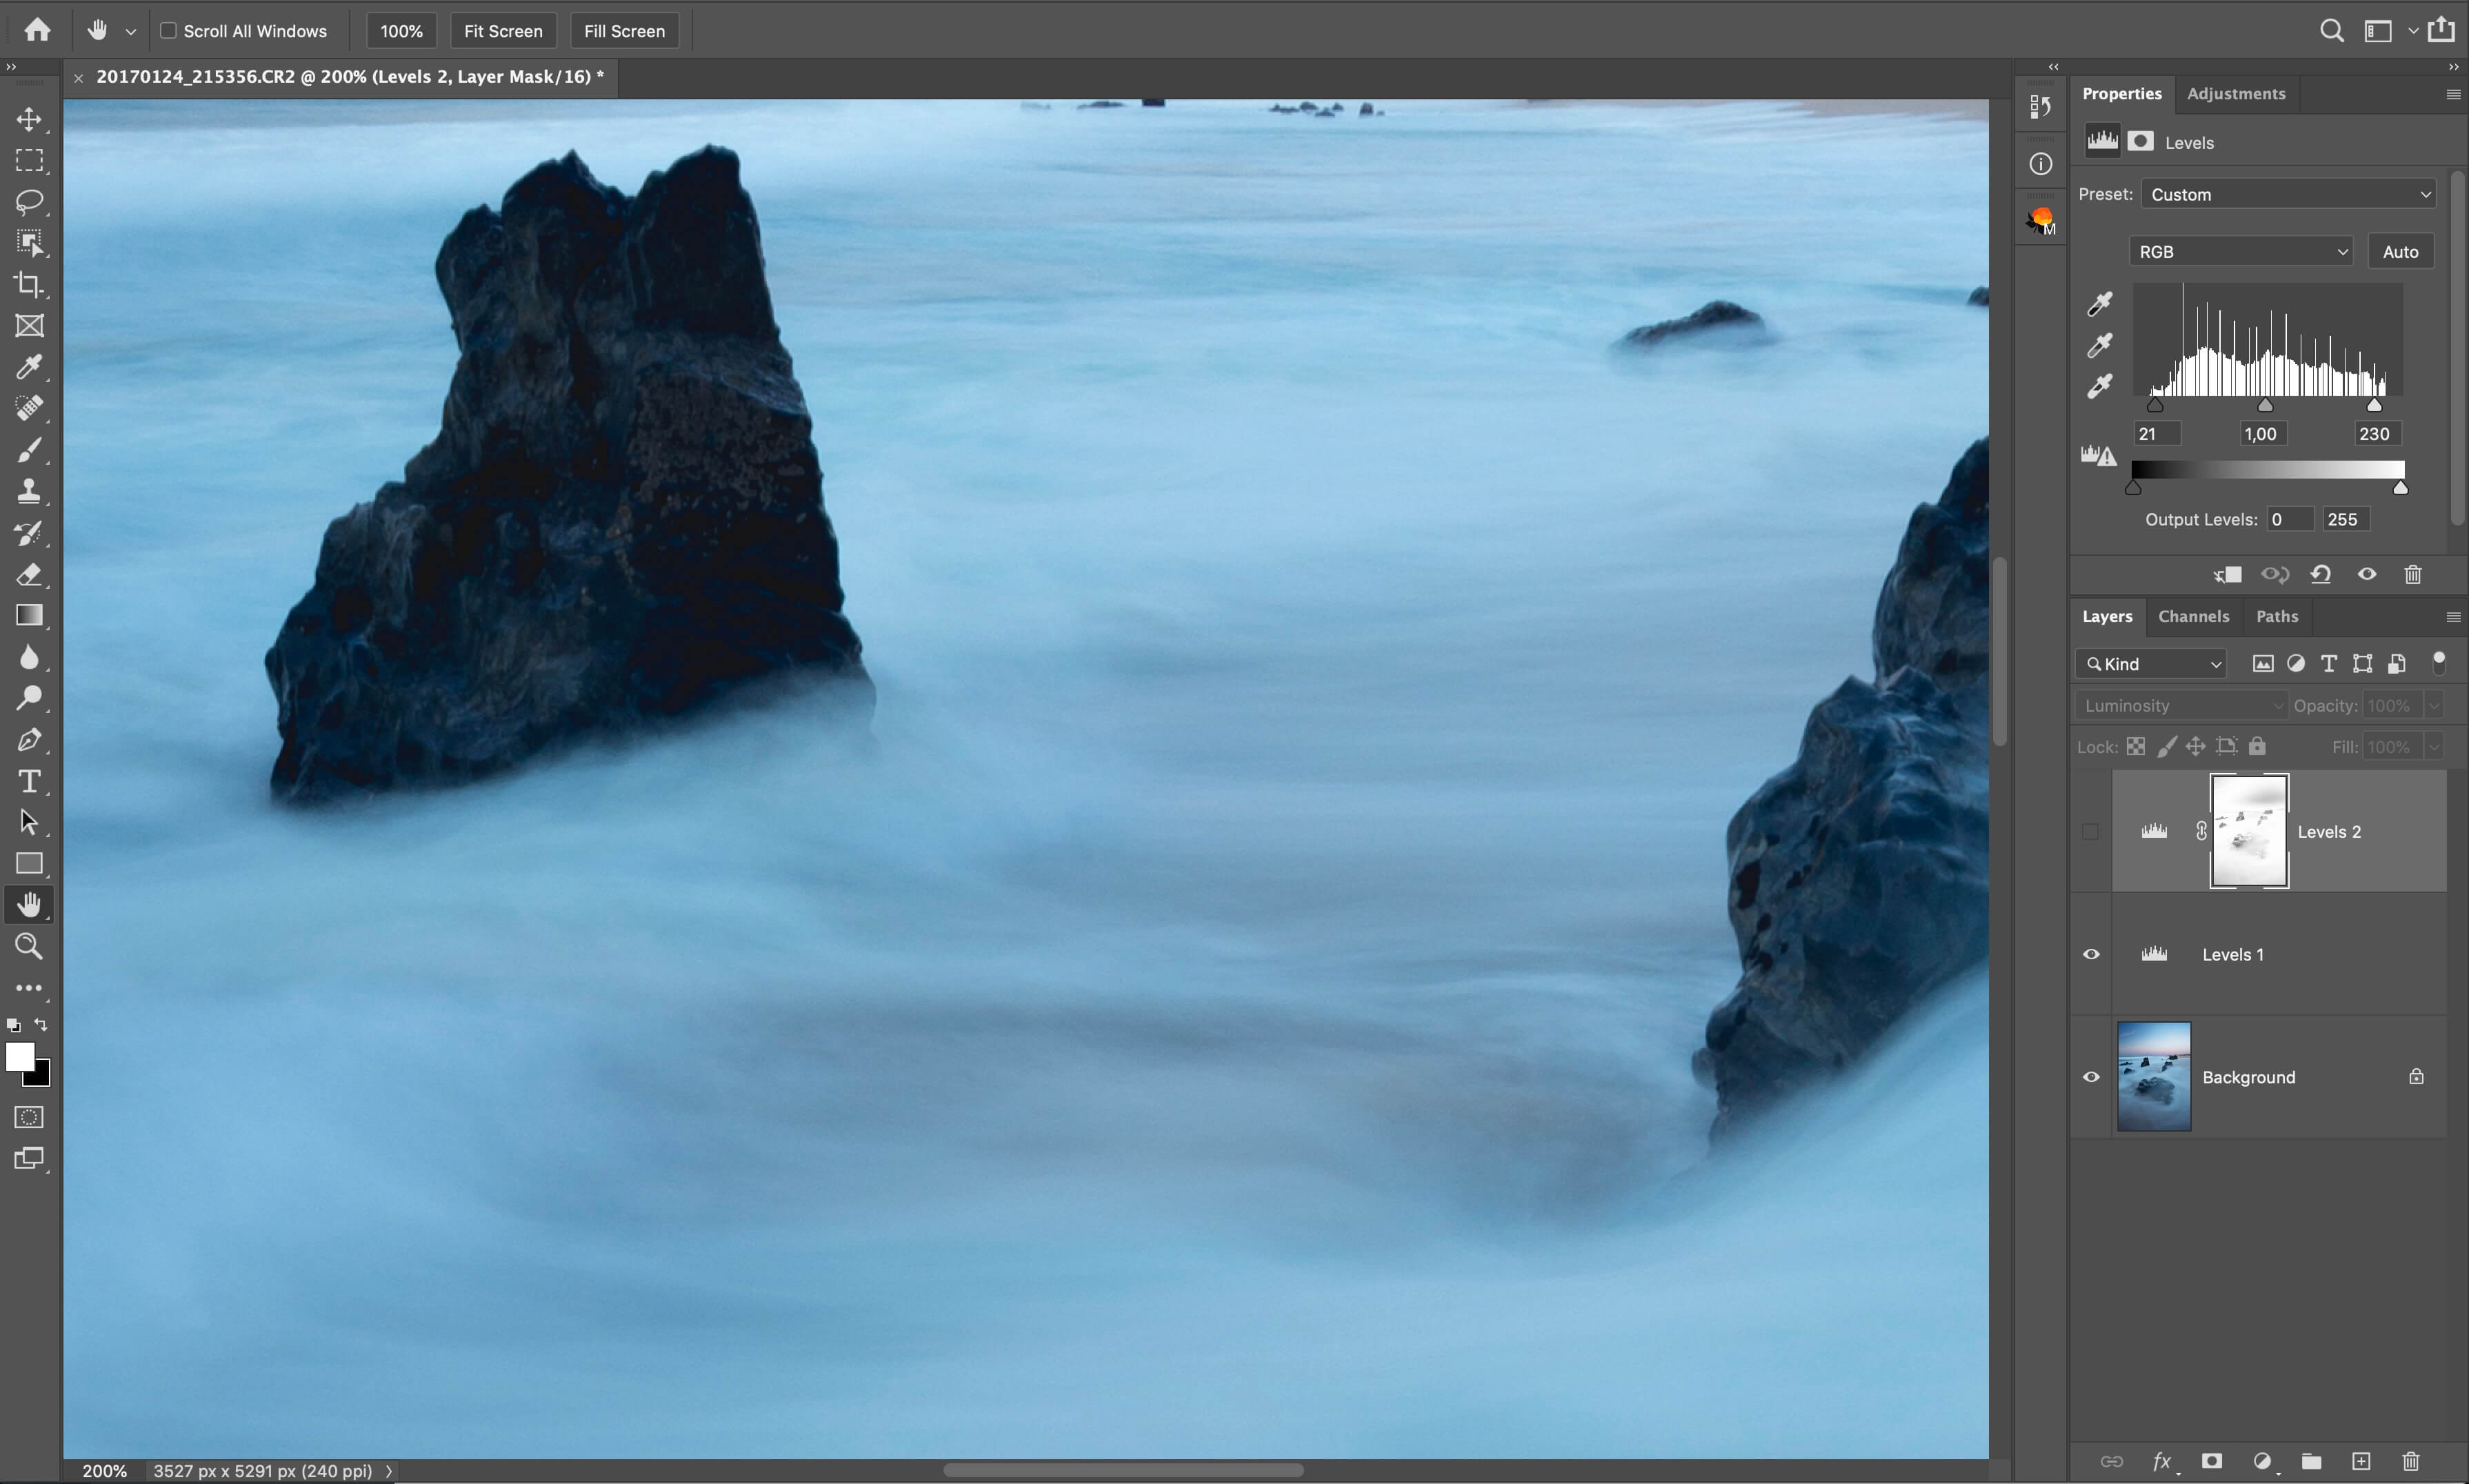
Without the mask applied, deep shadows look flat and a bit gray. With mask applied, Mids-3 have protected details in deep shadows and bright lights, which is why shadows have much more depth.
Controlling midtones
Mid masks will also be very helpful if you need to select some part of the image that isn't in particular bright or dark.
How to find the right midtone mask to use
To understand which Mid mask level you would need for the target area you can use Histogram. Enable it by selecting
Window - Histogram in Photoshop.
Using Histogram is another big topic to cover, it's irreplaceable when working with photographs. Histogram shows how all the tones of the image are distributed by brightness, starting with deep shadows on the left and ending with bright lights on the right.
At the moment we are mostly interested in histogram without color distribution. If we would select any part of the image histogram would update and re-built for selected part of the image. That way we can see if midtones mask would work in selecting particular area of the image.

Using midtone mask to adjust the image
Now, knowing which part of histogram will include tones that we are interested in, we can build midtones mask. It will have to be refined with levels to make sure there is some kind of tone separation present for us to work with. At this moment we are not interested in other parts of the image. Resulting mids mask will split tones only in the part of the image we plan to work with and all other parts of the image will most likely look very odd.

If we would increase contrast with curves we will get desired effect, keeping in mind that other part of the image will look quite strange.

Covering our effect into a group with black mask by pressing a special button on ARCPanel, we can carefully paint in our effect using soft semi-transparent brush.

Summary
In the last 3 lessons we saw how different kinds of luminosity masks work independent from each other. Lights masks let you blend exposures, darks and midtones allow to work with contrast of the image and build some special effects.
With all that said, one of the most popular effects to use with luminosity masks is Dodge & Burn. Let's talk about it in the next lesson.
Preparing login widget...